With all the recent holiday releases from some of my favorite companies, I was inspired to make a Halloween project. I know it is still July; but as a good friend said to me, "Halloween's only three months away!" I have also noticed that many of the local craft stores are starting to put out the Halloween decor, so perhaps the timing is just right. Wether you would like to give them away as favors or simply add to your decor, these fright night fancies are frightfully fun!
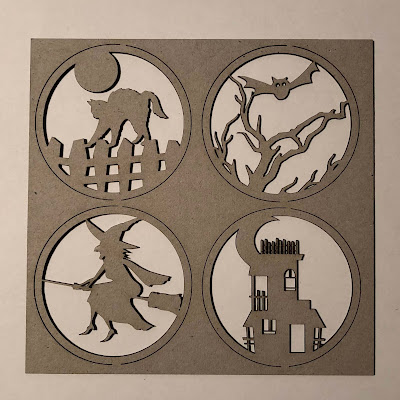
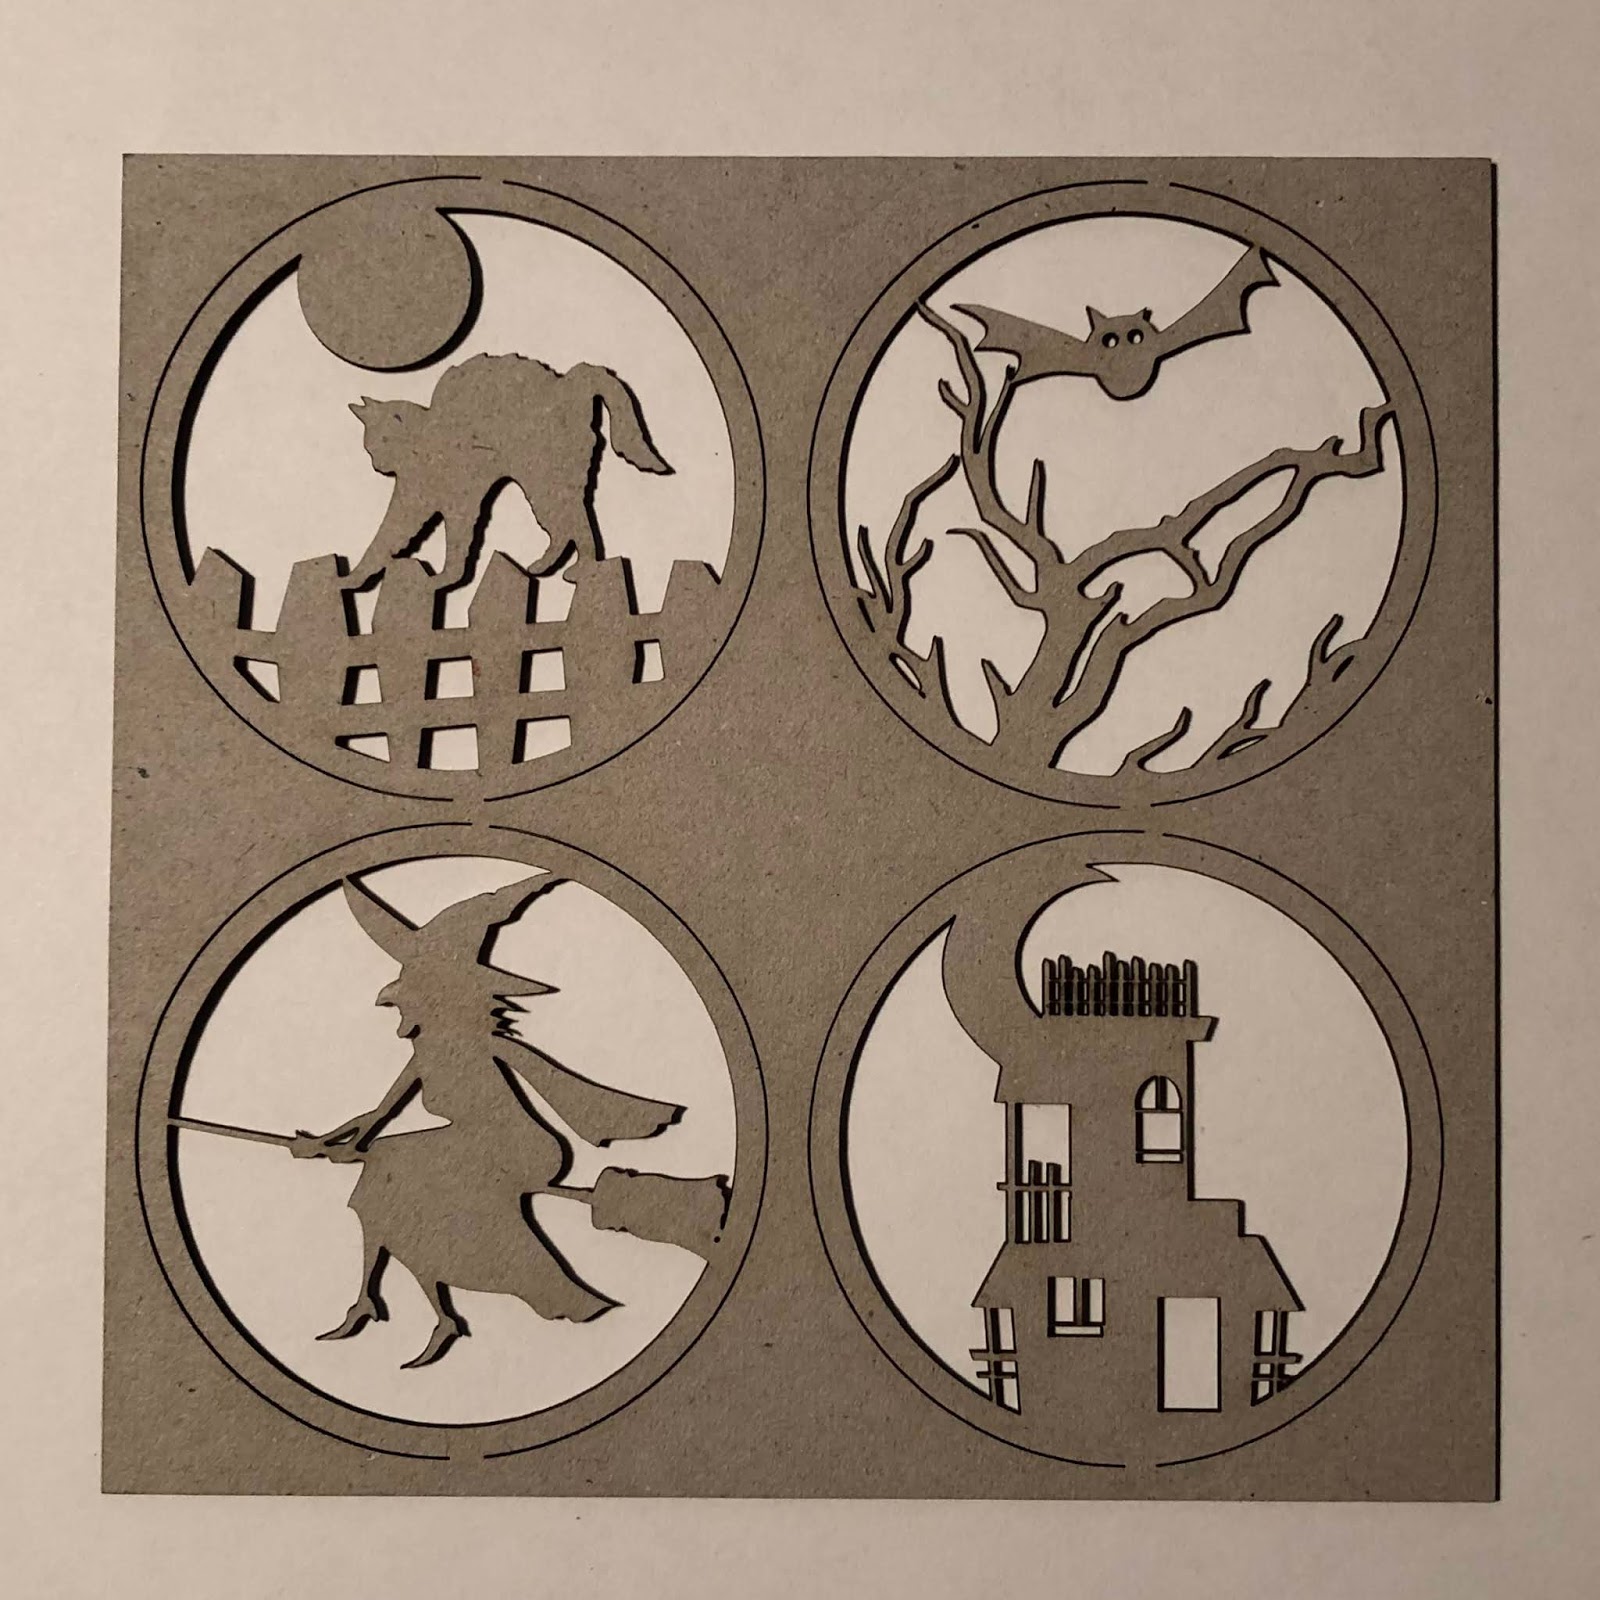
 Gypsy Soul Laser Cuts has introduced a line of artist trading coin covers in various styles. They range from Alice in Wonderland to seasonal, including holiday sets. I look forward to using some of these in a traditional manner, but I thought it would be fun to use them as focal points for rosettes and attach them to sticks, creating wands. I begin with GSLC trading coin covers Halloween. The set includes four different designs.
 I paint the witch coin cover with black soot paint on both sides and allow to dry. Once dry, I add a layer of glue to the central design and coat it with distress glitter. The designs have some intricate parts, so be sure to use a fine glitter so that the beautiful details can be seen.

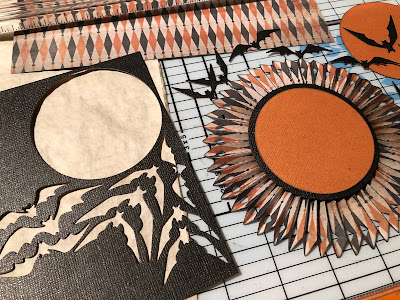
 Using a paper rosette cutting die, I cut multiple pieces from the Halloween Kraft Stash paper pad. The edges are inked with black soot distress ink and the die cut strips are glued end to end creating a circle. (tip: be sure that when gluing the strips, you keep the all decorative edges along the same side.) I then die cut a circle for the center that is larger than the trading coin cover. This piece will cover the open area within the rosette, as well as provide a base for the trading coin cover. A line of glue just along the outside edge of the back of the circle allows it to adhere to the rosette when "flattened."
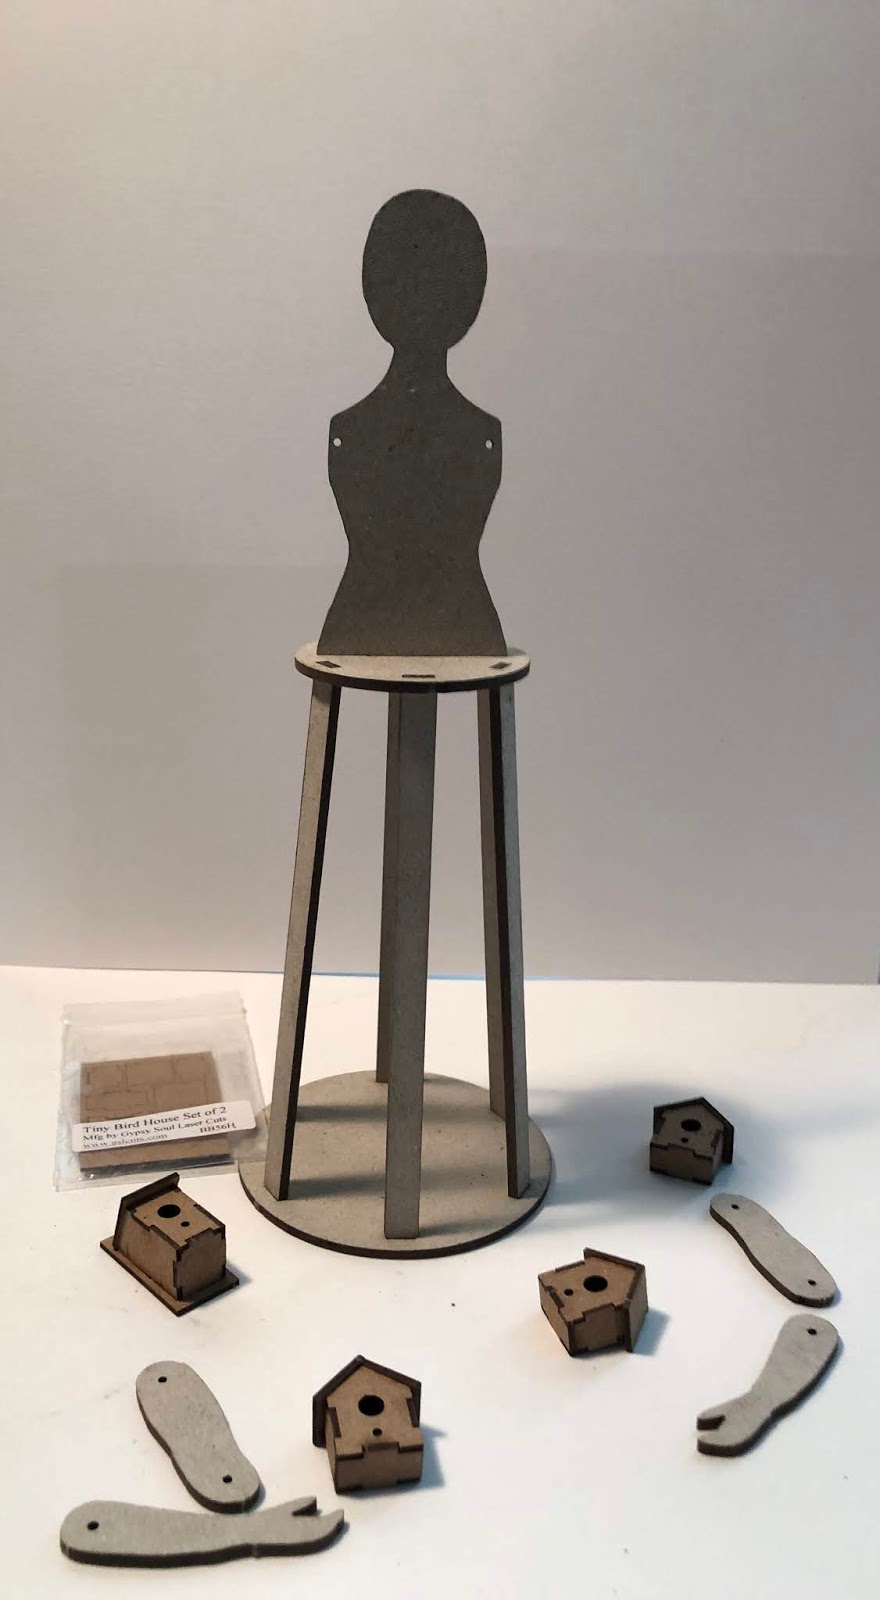
 Before attaching the glittered trading coin cover, I flip the rosette over and finish the reverse side. This step is much easier, and a lot neater, when completed before the glittered piece is attached to the front. I attach a wooden skewer stick to the rosette with tacky glue. (tip: be sure that the stick extends to the top of the rosette ring, this gives it more stability.) I have also added some die cut bats on thin wire to my piece, the wires slip through the gaps that the folds of the rosette create, and are attached with collage medium to the back side of the circle. When the adhesive has dried, the back of the rosette is closed up with another circle die cut. I used a patterned paper for this to add interest to the back side.
The wand is flipped back over and the finished trading coin cover is attached with collage medium. Decorative trimmings can be tied around the stick at the base of the rosette.
Each of the rosettes are created in a similar way, simply adjusting the size, or number of layers.
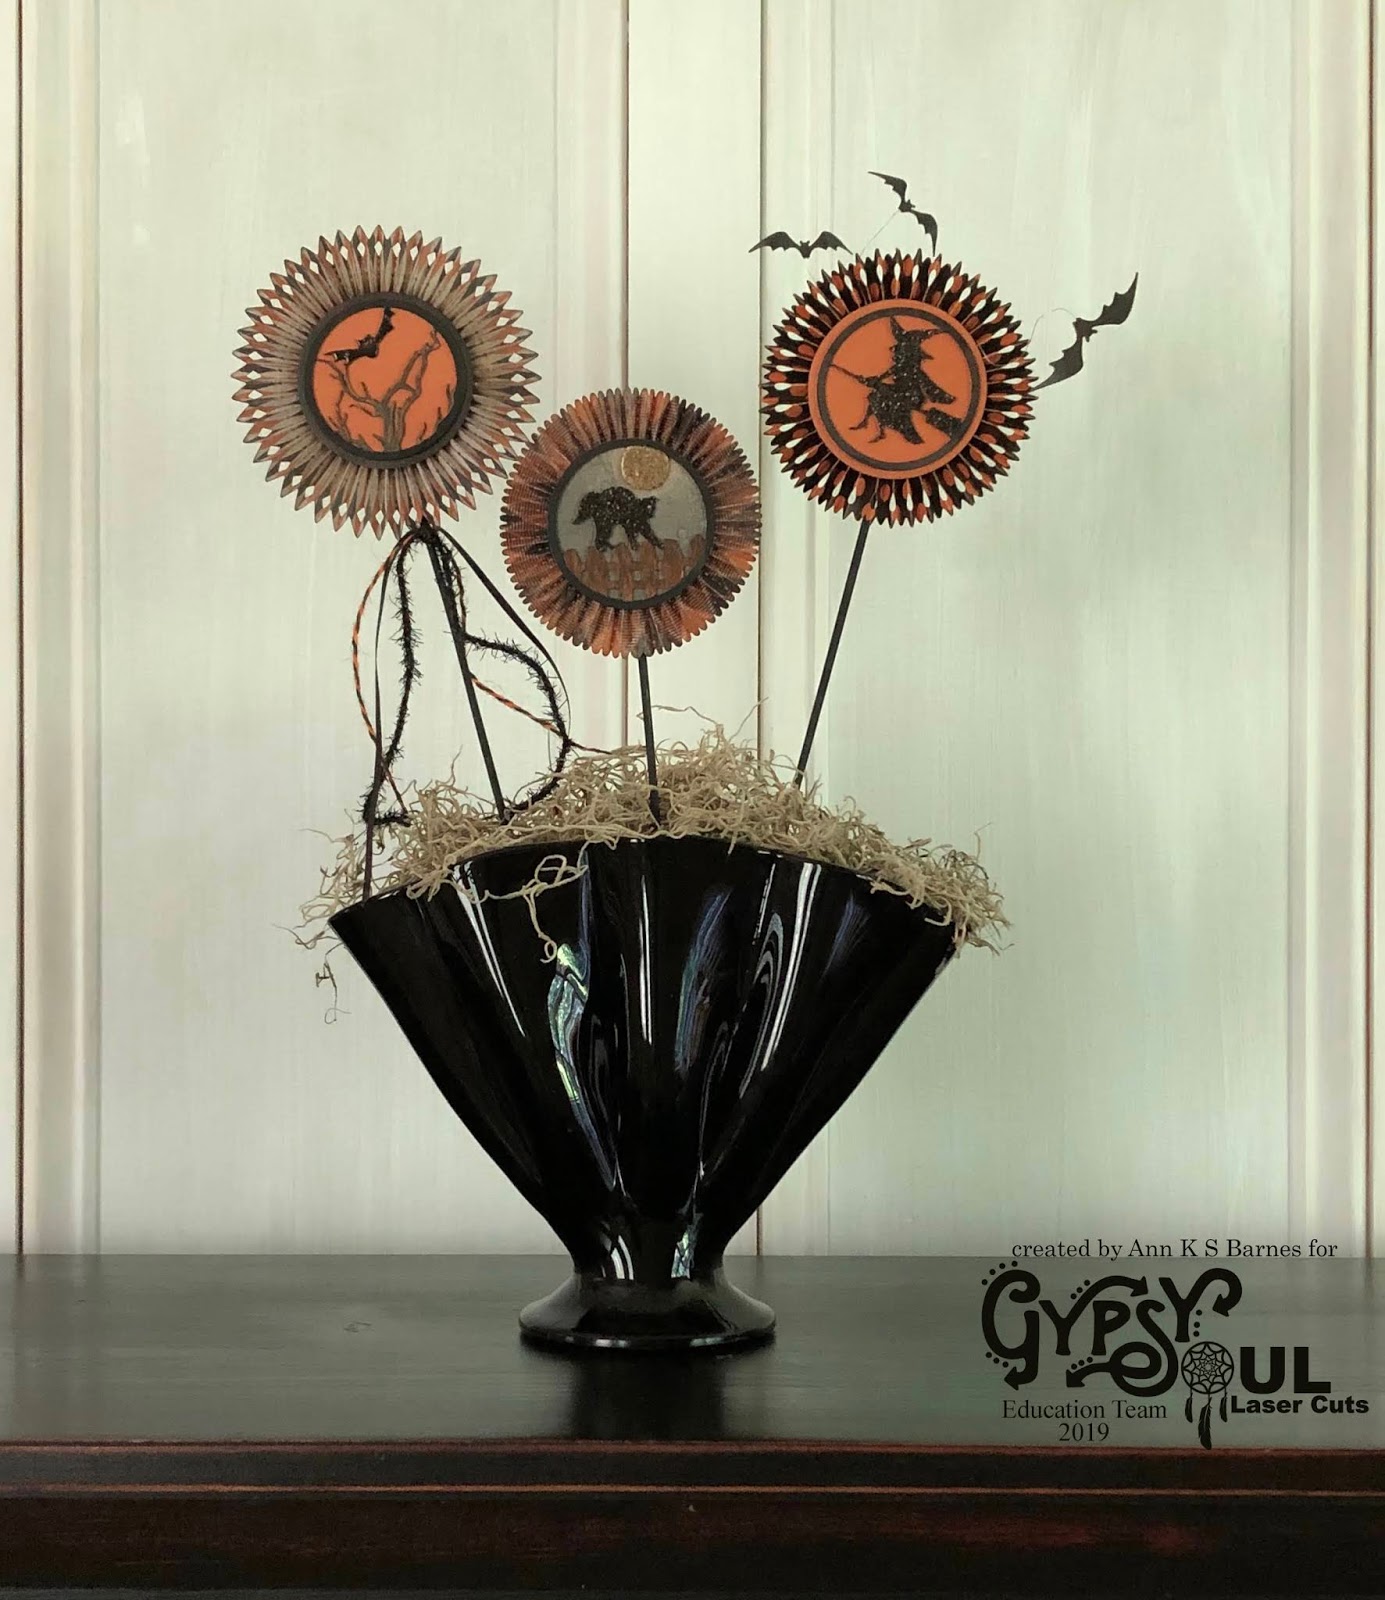
 The cat on a fence trading coin cover is finished with a combination of paints, embossing powder, and glitter. I always love painting faux wood, and think it looks perfect on the fence portion. What Halloween piece would not be complete without a black cat? I added a dot of gold to simulate the glow of the cat's eye. The moon is coated with embossing ink then covered with ancient amber embossing powder and heat set. The trading coin cover is attached to a kraft stash circle that has been inked with black soot distress ink to simulate a midnight sky.
 The largest rosette creates a perfect backdrop for the bat and tree trading coin cover. Using distress paints in shades of brown, I paint the tree limbs to look dimensional. The bat is painted with black soot paint and then covered with a thick layer of glossy accents and allowed to dry. Gold paint lines the interior rims of the bat eye openings. The trading coin cover is adhered atop two layers of Kraft paper stash and finally attached to the center of the rosette. Halloween trimmings are tied around the skewer at the base of the rosette.
 The fourth trading coin cover is used to embellish a small round die cut box that contains candies. I die cut the box and cover it with Halloween patterned papers. This trading coin cover is finished using embossing powders. The piece is first painted with black soot paint, then each interior element is coated with embossing ink and covered with embossing powder, and heat set. I love the glow of the moon over the haunted house silhouette. Once it has cooled, the coin cover is attached to a circle of orange kraft stash paper that has been inked to simulate a spooky sky. Miniature bat die cuts are attached randomly within the coin circle. Additional bat die cuts are attached around the box sides, unifying the design.
 Gypsy Soul Laser Cuts also makes incredible, chunky artist trading coins. They are sold in sets of three. I have used them for another project that you can find here. The artist trading coins would also be perfect for layering beneath the trading coin covers.
 I really enjoyed creating these fright night fancies, I hope that you may consider alternate ways to use the Gypsy Soul Laser Cuts trading coin covers. They are the perfect size to add to just about any project, or even use on their own.
Thanks so much for taking the time to stop by, I truly appreciate it.
~Ann
xxx
I am entering this project in:
Simon Says Stamp Monday Challenge: Animal Magic
(Cat and Bats)
Gypsy Soul Laser Cuts:
Trading Coin Covers Halloween
other supplies :
Distress Collage Medium: matte
Distress Glitter: black soot
Distress Ink: black soot
Distress Paint:
black soot, ground expresso, vintage photo, walnut stain,
Eileen Hull / Sizzix Scoreboards Die: bigz xl cookie box
Seth Apter / Emerald Creek Baked Texture Embossing Powder:
ancient amber. eclipse
Glossy Accents
Tim Holtz Ideaology:
Paper Stash Classic Kraft, Kraft Stash Halloween, Paper Stash Halloween, Trimmings Halloween
Tim Holtz / Sizzix Alterations Dies:
bat crazy, mixed media halloween, rosette set
Wire: 32 gauge
Wooden Skewers
Xyron Creative Station Lite


The wand is flipped back over and the finished trading coin cover is attached with collage medium. Decorative trimmings can be tied around the stick at the base of the rosette.
Each of the rosettes are created in a similar way, simply adjusting the size, or number of layers.


Thanks so much for taking the time to stop by, I truly appreciate it.
~Ann
xxx
I am entering this project in:
Simon Says Stamp Monday Challenge: Animal Magic
(Cat and Bats)
Gypsy Soul Laser Cuts:
Trading Coin Covers Halloween
other supplies :
Distress Collage Medium: matte
Distress Glitter: black soot
Distress Ink: black soot
Distress Paint:
black soot, ground expresso, vintage photo, walnut stain,
Eileen Hull / Sizzix Scoreboards Die: bigz xl cookie box
Seth Apter / Emerald Creek Baked Texture Embossing Powder:
ancient amber. eclipse
Glossy Accents
Tim Holtz Ideaology:
Paper Stash Classic Kraft, Kraft Stash Halloween, Paper Stash Halloween, Trimmings Halloween
Tim Holtz / Sizzix Alterations Dies:
bat crazy, mixed media halloween, rosette set
Wire: 32 gauge
Wooden Skewers
Xyron Creative Station Lite