I realize that for the majority of makers, the beginning of November signals that Christmas crafting is in full swing. I simply don't feel right skipping over Thanksgiving. I always try to work in at least one Thanksgiving project before fully committing to my Christmas and winter creations.
Today I am on the
Gypsy Soul Laser Cuts blog sharing a harvest sleigh, perfect for a Thanksgiving table centerpiece or home decor piece. Inspired by the Thanksgiving poem by Lydia Maria Child, I thought it would be fun to decorate the GSLC
Santa's sleigh with a harvest theme and fill it with all sorts of harvest goodies.
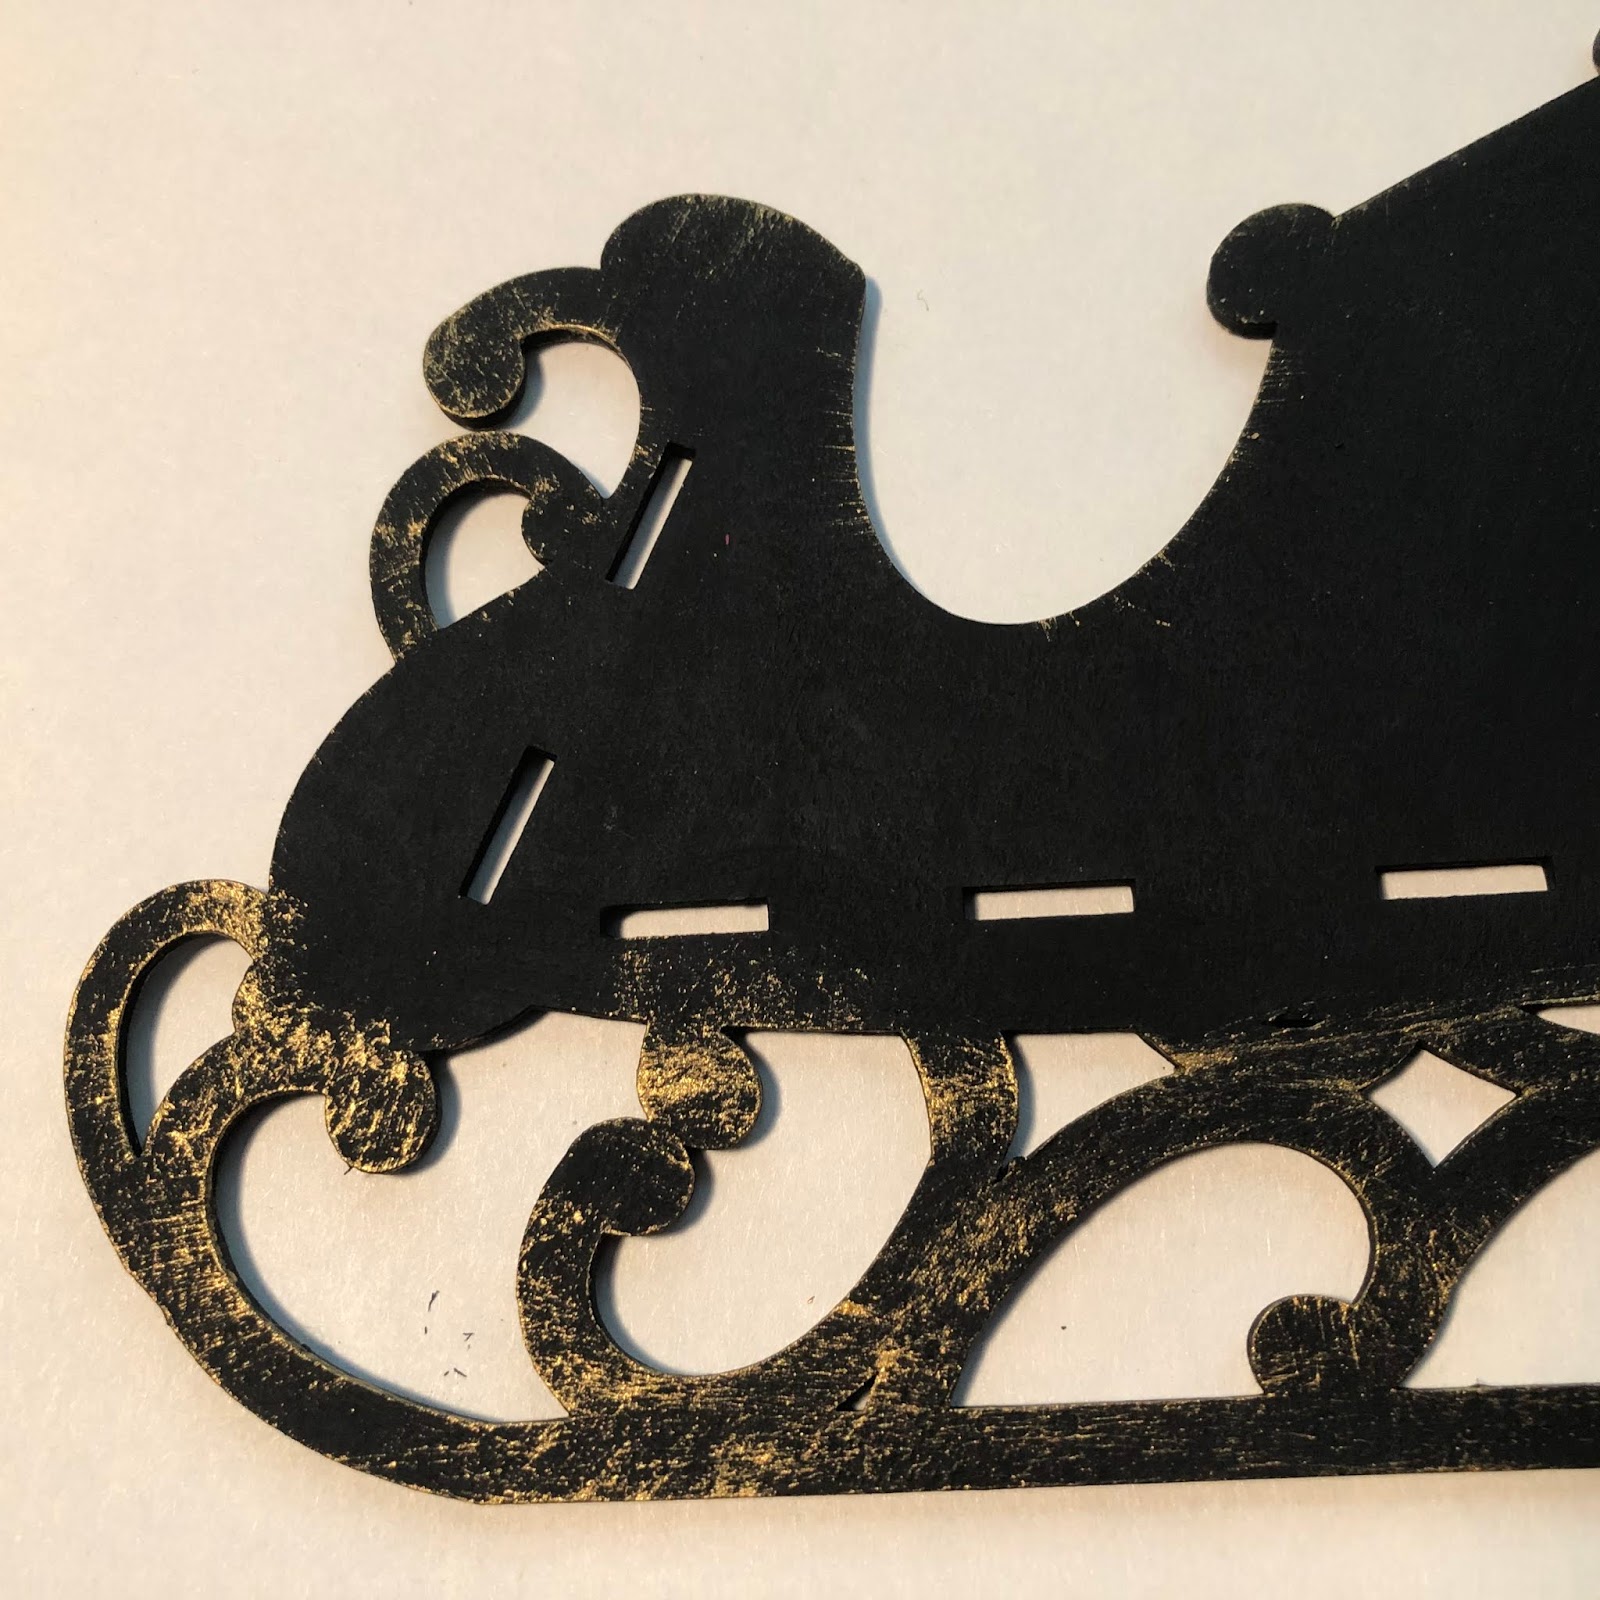
The sleigh arrives flat in seven pieces. This piece has many curves and decorative cuts. I suggest wiping down all edges with a soft cloth or paper towel to remove any of the black left over from the laser cutting process before beginning assembly. Next, I like to do a quick dry assembly to see how all of the pieces fit together. This allows me to envision the piece in its 3 dimensional form as well as gives me a good understanding of what areas are exposed and which ones are covered, which helps sequence the assembly process. Take note of the sections of the sleigh that remain exposed on the underside as well as the areas exposed when the back and front panels are in place. You want to be sure that all surfaces considered exterior to the sleigh will all be painted the same color.
I paint the exterior sides of the sleigh, as well as any exposed edges, with black soot paint. Be sure to cover the inside of the runners and decorative curves as these will be exposed when the sleigh is finished. While this is drying, I select the paper that I will be covering the interior of the sleigh with.
I want this sleigh to be used for multiple holiday celebrations. To avoid it having a distinguishable fall or Christmas look, I decide to use natural colored Kraft-tex. This will give the look of a traditional sleigh with leather interior. The
Santa's sleigh set comes with a template that can be used to trace the basic sleigh shape (minus the decorative runners and fancy edge.) I use the template to trace the shape onto the reverse side of my paper. The shape is carefully cut out and labeled to match the surface it will be adhered to. I repeat this process for each of the interior surfaces of the sleigh.
Once all of the pieces are cut, I ink the edges and surface with distress ink. This gives an aged appearance. Before attaching the piece to the interior side, you will need to trace the slotted openings for the base, front and back pieces, then cut them out with an exacto knife. Be sure to test that the tabs are easily inserted into the openings before gluing down the paper.
With all of the interior papers cut and ready to be attached, I return to the painted sleigh parts to add gilded details. This is much easier to add before the papers are adhered. Using an antique gold paint, I dry brush gilded edges and wisps of gold along the runners and edges of the sleigh. I add the gilded touches to all of the pieces where I want to achieve this look. Since I am essentially dry brushing the paint, it does not take long before everything is ready to be assembled.


I add collage medium to the back side of the paper, align it in place, then weight it down so it will dry flat. The same process occurs for both sleigh sides, as well as the front and back interiors. When the adhesive has cured, I dab glue onto the tabs for the base front and back panels and insert them into the slots on each sleigh side, creating the three dimensional sleigh. Next it is time to add the decorative side panels to the exterior. I want to be sure that the slotted sections are not showing, so I use the template to create two black paper pieces. These are attached to the exterior sides before the decorative pieces. When everything is in place, I clamp the edges until the glue is dry.
I paint sections of the
Acorn Border Set antique gold. These pieces are then dry brushed with black soot paint. When they are completely dry, I re-touch the acorn bottoms with the gold for highlights and to make them distinguishable.
I use gilded acorns in my holiday decor for both Thanksgiving and Christmas. This will be a nice accent for my sleigh that will tie it into both seasons.
The finished acorn border set pieces are added the sides and front of the sleigh and it is ready to be filled with the splendor of the season.
"Over the river, and through the wood,
To Grandfather's house we go;
the horse knows the way to carry the sleigh
through the white and drifted snow.
Over the river, and through the wood,
to Grandfather's house away!
We would not stop for doll or top,
for 'tis Thanksgiving Day."
Lydia Maria Child
Thank you so much for taking time to visit today.
I wish you all the happiness that holiday crafting brings,
no matter which holidays you are creating for!
~Ann
xxx
supplies used:
black cardstock
clamps
Distress collage medium: matte
Distress ink: black soot, gathered twigs, walnut stain
Distress paint: black soot, antique brass
Exacto knife


I am all for not skipping over Thanksgiving too and I have to say I am completely in love with your Thanksgiving Sleigh. The colours are wonderful, it has a vintage feel to it and you have decorated it so, so beautifully! A wonderful piece of home decor. Anne xx
ReplyDeleteThis has a wonderful nostalgic look to it, and the poem fits perfectly with that vintage vibe. This is a gorgeous centerpiece, and although I'm happy you did not skip over Thanksgiving (I feel the same), this sleigh can take you right through Christmas. I love how you have decorated it, and I'm sure it looks fabulous in your home. Thank you so much for sharing this beautiful piece with us at The Funkie Junkie Boutique blog, too! Hugs!
ReplyDeleteThis sleigh is gorgeous and love the little flower motif on it! The foliage is wonderful too...a delight for a centerpiece!
ReplyDeleteLove your clever idea of mixing the two Holidays together. And why not? Great sleigh and the flowers clustered inside are 'so fall'. Thanks for sharing...
ReplyDeleteAnn I love that you've taken what could traditionally be seen as a Christmas sleigh and given it a whole new Thanksgiving spin. I can imagine this gorgeous piece at the centre of your table surrounded by good food, family and friends. The oak leaf trim on the sides is perfect. Thank you for joining us for this Funkie Junkie Boutique Challenge x
ReplyDeleteGreat Decor Project. I love the GSL chippies : ) Thanks for joining us for our challenge at the Funkie Junkie Boutique Blog. Crafty hugs from Ginny at Polly's Paper Studio : )
ReplyDeleteHello Ann! Well, it looks as if I have a lot to congratulate you on here! Biggest congratulations on being our winner at The Funkie Junkie Boutique Blog. I also remember seeing you were in the Spotlight at SSS! You are certainly deserving of all the honors! Happy Thanksgiving!
ReplyDeleteGorgeous Sleigh Ann, it looks so real. Love how versatile it is. xxx
ReplyDelete