Wednesday, December 18, 2019

angel of the fallen snow

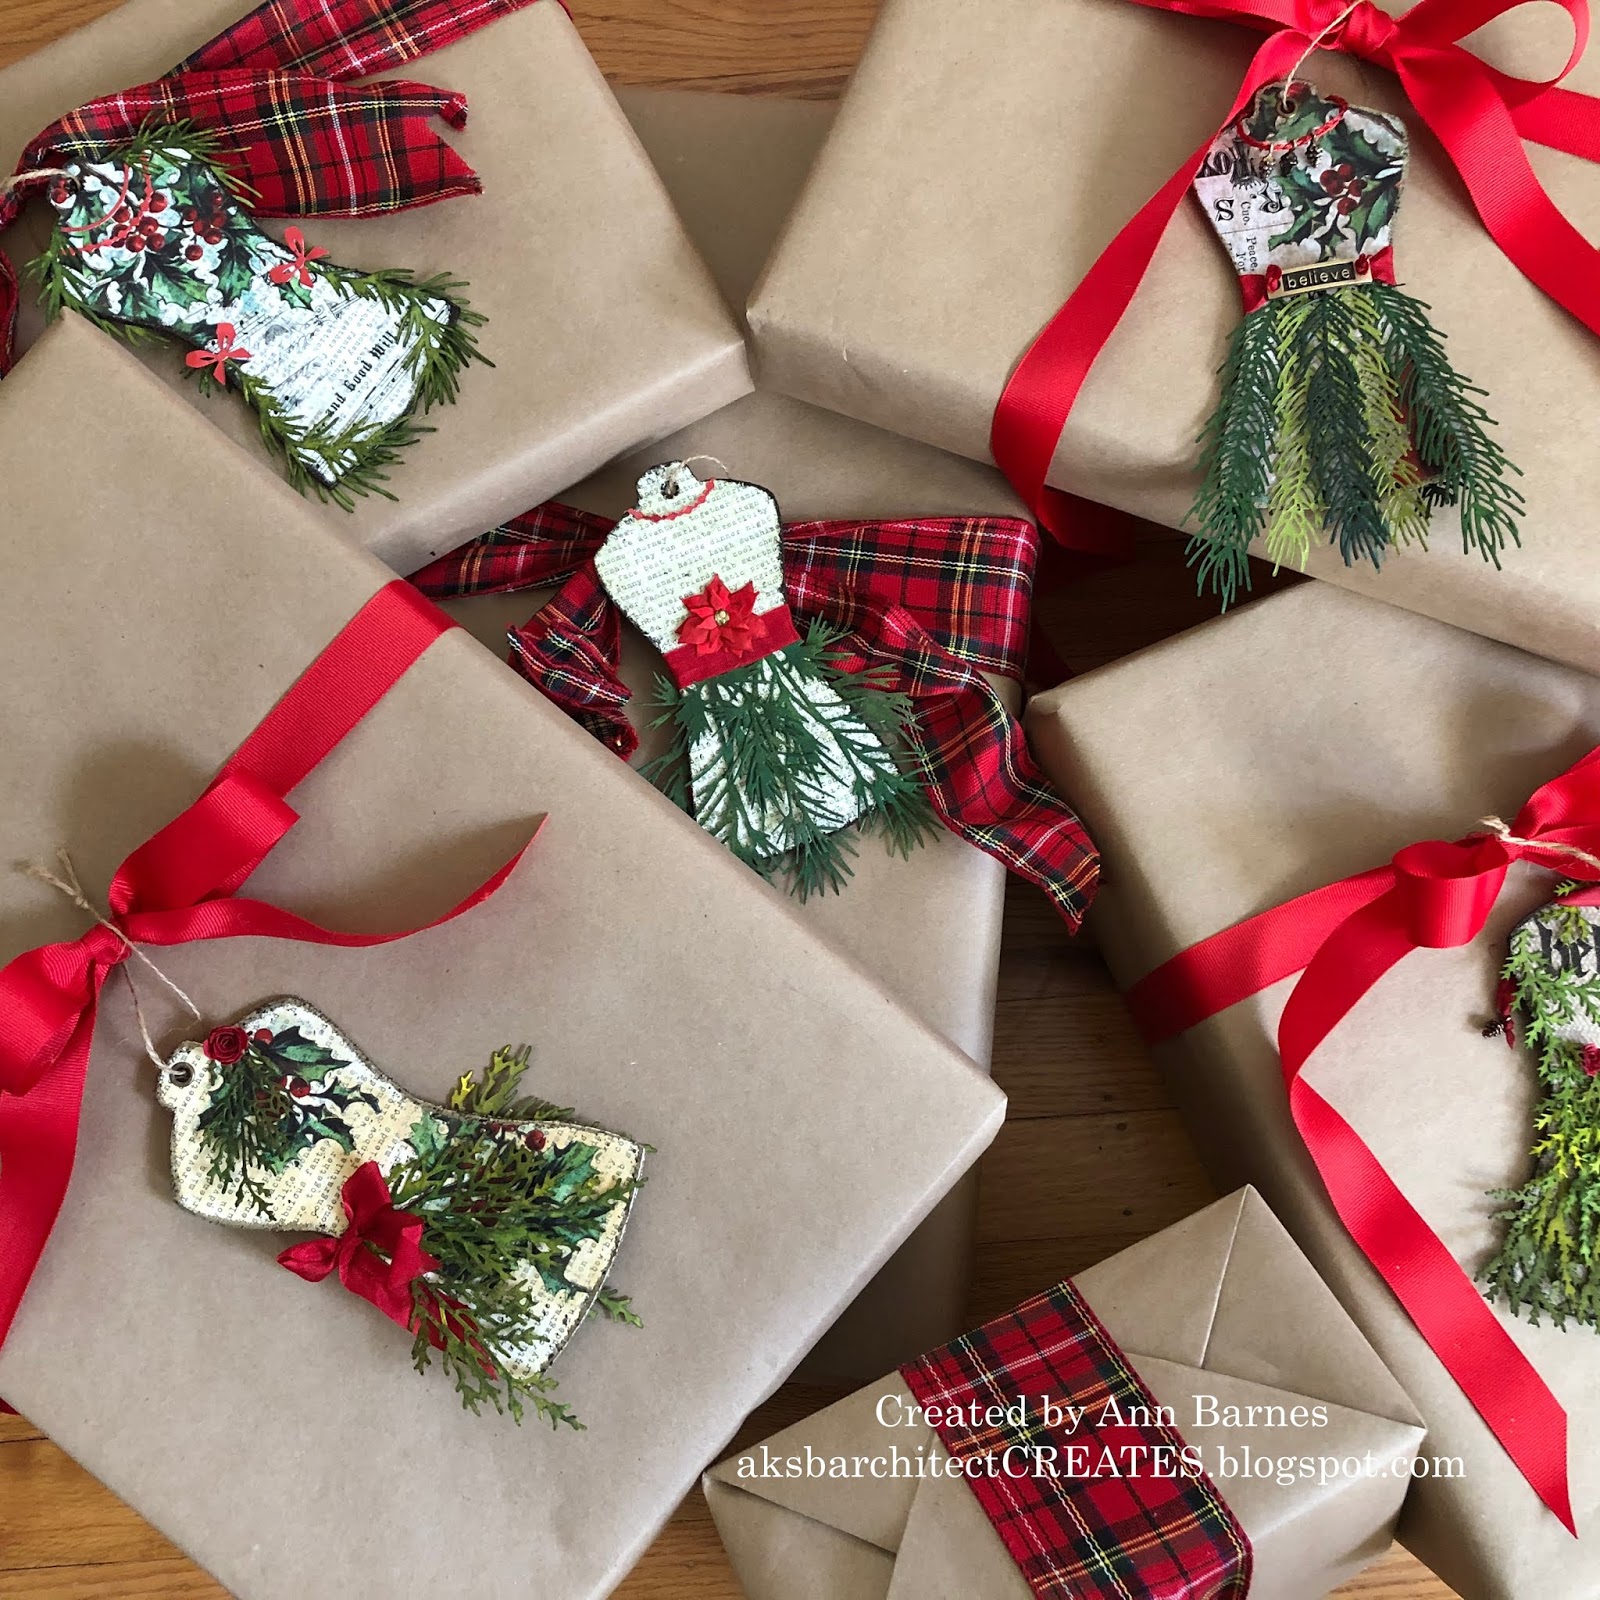
December has been a busy month, preparing for Christmas with holiday decorating and shopping; trying to make everything extra special for the birth of baby Jesus.
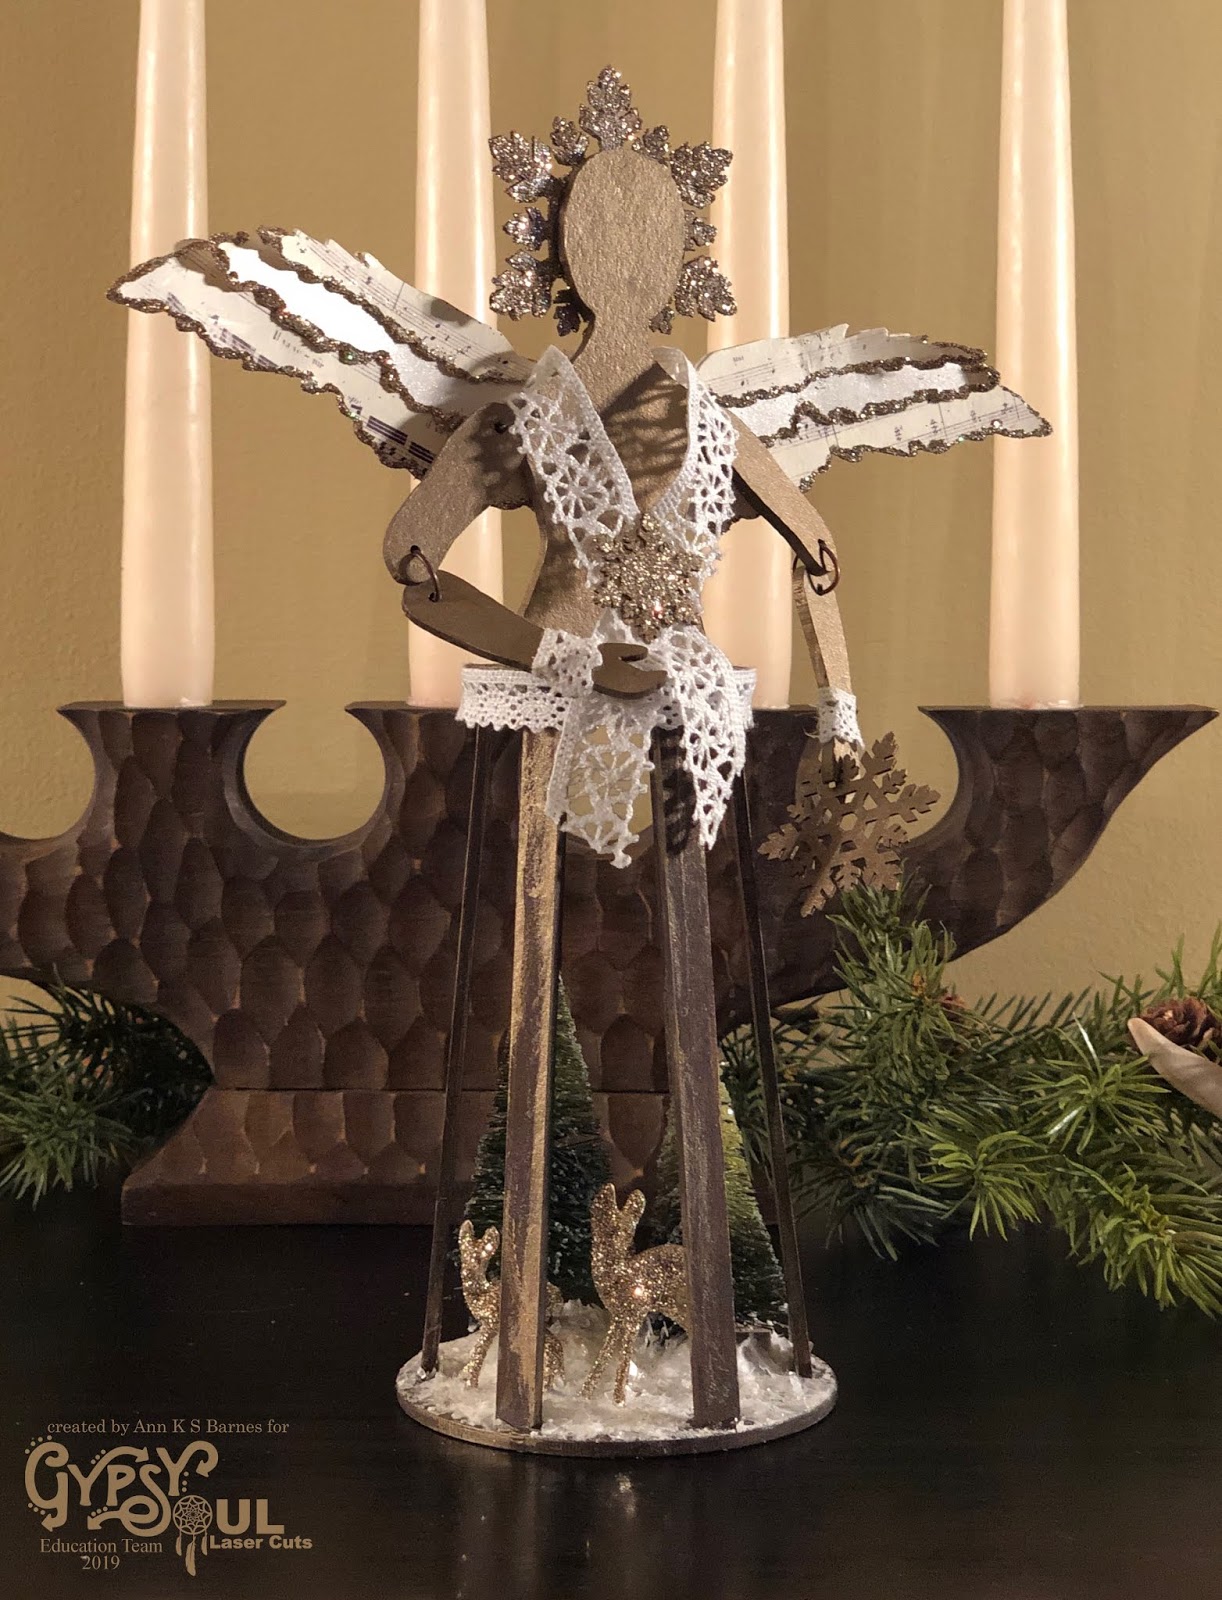
My Christmas decorations have always included angels. I thought this would be a perfect opportunity to create an angel with the Gypsy Soul Laser Cuts santos doll that I can include in my displays. Recently, I was gifted a few found antlers, and this year much of my decor incorporates them among evergreens. This inspiration carried over and "angel of the fallen snow" was born.
Today I am on the GSLC blog sharing this piece.
I love working with the GSLC santos doll, this is the second one that I have made. The first, "bird lady," can be found here. The santos doll arrives flat. Carefully remove the pieces from the surround and wipe down the edges with a dry cloth. I like to do an initial assembly (without glue) to gather ideas. When I pre-assemble the santos doll, I check to make sure that whatever I will be locating within the caged skirt has adequate space and looks appropriately scaled.
Once I have settled on an idea, and have gathered my components, I dis-assemble the chipboard pieces and begin. To give the cage portion of the santos a natural woodsy feel, I begin by painting the base pieces with a layer of traditional burnt umber acrylic paint. Each piece is painted on both sides and allowed to dry. Next I dry-brush metallic brushed bronze paint onto the pieces to add highlights. While I have the brushed bronze paint out, the doll torso and arm pieces are painted on both sides and set aside to dry.
Once all of the paint has dried, I glue five of the six cage uprights into the base. I place the top circular flat piece onto the uprights without glue so that the pieces will attach at the right angle. One of the uprights is left out to facilitate adding the contents to the base. I glitter two dyed bottle brush tress and secure them onto the base with glue. 
Next, I use a palette knife to add texture paste around the trees. I carefully mound some areas along the wooden tree bases to make the scene appear like drifted snow. The texture paste is coated with collage medium and sprinkled with distress mica flakes to create the natural drifted snow effect. Two glittered Ideaology deer are also added to the scene. The last upright is then glued into the base.
With the base scene in place, I begin to work on the doll. I add a narrow piece of crocheted lace around the edge of the top flat circle. This same lace is used to create a cuff detail around each wrist. These pieces are set aside to dry. The angel's halo is created with a large snowflake from the GSLC snowflake shape set. I carefully remove the snowflake and then coat one side with collage medium and sprinkle vintage platinum glitter dust to cover the entire snowflake. The second side is finished in this same manner. The glittered snowflake is then attached to the back of the doll's head with hot glue. The doll arms are secured together using jump rings allowing them to bend and pose.
With the crocheted lace edge secure, the top circle can be attached to the cage uprights with glue. 
I begin to create her wings. Using a die, I cut the layered wings from multiple papers. Each layer is edged along the bottom with glue and glitter dust and then secured together. The back side of each wing has an added (mid size) layer of glittered paper. While the wings are drying, the doll torso is inserted into the slotted opening and glued in place. A larger width of crocheted lace serves as a shawl around the doll's shoulders. It is fastened in the front with a glittered snowflake from the snowflake shape set minis. Lastly, the angel wings are attached to the doll's back with hot glue.
I love the way the glitter captures the light and sparkles. 
The angel of the fallen snow stands guard over her beloved deer.
Thank you so much for stopping by today, 
I truly appreciate you taking the time during this busy season. 
Wishing you a wonderful holiday, however you celebrate!
Merry Christmas
~Ann
 xxx


supplies:
bottle brush trees
Distress collage medium: matte
Distress glitter: clear rock candy
Distress glitter dust: vintage platinum
Distress mica flakes 
DecoArt acrylic paint: brushed bronze, traditional burnt umber 
Gypsy Soul Laser Cuts:
hot glue & hot glue gun
paint brush
Ranger opaque texture paste
Tim Holtz Ideaology: decorative deer, jump rings, trimmings lace
Tim Holtz/ Sizzix: Bigz: layered angel wings

Thursday, December 12, 2019

holiday haute couture

The theme this month at the Emerald Creek Dares Challenge is "Believe."
We hope that you will join us and share your winter or Christmas creations.
For my project I thought it would be fun to create some holiday haute couture.
These dressform tags could be used on gifts and then hung on a tree or used as decor in the coming years.
If you follow me on social media, you know that I have been a little obsessed with making faux greenery with my Tim Holtz dies and distress inks. I had the idea that it would be really cool to use these "greens" for some "en vogue" fashion designs. Each of the tags is edged in an Emerald Creek embossing powder, some tags fashion stenciled and embossed designs, while others use pieces from the Emerald Creek Forge as embellishments, all tags are edged in Emerald Creek powders.
The six dressform tags are a set of chipboard laser cuts. The first step is covering each side with a paper of your choice. I prefer to use collage medium to attach the papers, as it is not affected when I add embossed accents on top of the papers. For these tags, I use a text paper on one side of all the tags, the opposite sides are covered with various materials including patterned paper, linen, and Christmas collage tissue. 
When both sides of the tag are covered, I coat the edges with Versamark embossing ink and then sprinkle with embossing powder. The embossing powder is heat set and, when needed a second coat is added. I love using the chunky powders along the edges of my projects, it adds so much interest and always feels awesome to the touch.
For these tags, I use a few of my favorite powders.
Charred gold, this powder is very chunky and gives a wonderful blend of color.
Another chunky powder is hammered metal.
These two powders generally will only require one coat along the edge.
A third embossing powder on a couple of the tags is oil rubbed bronze. This is a fine powder; in some areas I add two to three coats to achieve a thick smooth edge.
Special, embossed details are added to the finished sides prior to adding any of the greenery pieces.
On this tag I use a sponge applicator with Versamark embossing ink through a Tim Holtz stencil and sprinkle with oil rubbed bronze embossing powder. I then heat set the powder. One thing to note: on the linen surfaces, the embossing powder needs to be re-coated multiple times to achieve a finish that will mimic embossing that has been done on a non-porous surface. The upper portion of this tag was coated with collage medium to seal the collage tissue; when the embossed detail was heat set, it only required one coat, the bottom of the tag needed many coats, as the linen was not sealed. 
This Tag used the same technique; 
however, the surface was paper and the embossing powder, charred gold.
I love adding metal embellishments to my tags.
The Emerald Creek pinecone charms are a perfect fir with the greenery on these tags. 
These pinecone charms are colored with alcohol ink before being tied to a dyed, crinkle ribbon "scarf".
The pinecone charms are embossed with charred gold and oil rubbed bronze embossing powder then used to accent braided "necklace" on this tag. 
Another piece from the Emerald Creek Forge collection, the believe buckle connector charm, is used as a "belt". The connector has been colored using alcohol ink along the raised areas to coordinate with the charred gold tag edge.
Here are a few more detailed pictures:
I hope you have been inspired to join the challenge this month.
Thank you for taking the time to stop by the blog,
 I truly appreciate it and I wish you the very best this holiday season!
~Ann
 xxx


I am entering my holiday haute couture tags in the following challenges:
The Funkie Junkie Boutique: It's the Holidays


supplies:
Alcohol inks:
sepia, mushroom, black, gold mixative
 Distress collage medium: matte
Distress inks:
crushed olive, forest moss, mowed lawn, peeled paint
Emerald Creek embossing powders:
charred gold
hammered metal
oil rubbed bronze
Emerald Creek Decor - forge:
pinecone charm
believe buckle connector charm
eyelets: 3/16"
Gypsy Soul Laser Cuts: dressform tags
Tim Holtz Ideaology:
christmas collage tissue, crinkle ribbon, metallic kraft stock, paper stash christmas
Tim Holtz / Sizzix:
deck the halls, funky festive, large funky festive, holiday greens, holiday greens mini,
pine branch, tiny tattered florals
Tim Holtz / Stampers Anonymous stencils:
holiday script, mini stencils set 19, sparkle

Wednesday, December 4, 2019

winter's light

December days are shorter as darkness settles in early and makes for long evenings.
It is so nice to put out the Christmas decorations as we begin to celebrate this wonderful season.
During these times, I love the warm glow that candlelight provides. I thought it would be fun to create a winter lantern, using die cut greens and the Gypsy Soul Laser Cut lantern cage style.
Today I am on the GSLC blog, sharing "winter's light."
The finished lantern measures approximately 3-1/2" square x 6-1/2" high. It arrives flat in 10 pieces. I like to pre-assemble the pieces before I begin my actual project. This helps me to envision the final piece, as well as understand which parts go where and the best method to put it all together.
When all of the pieces are carefully removed from the surround, use a dry rag or paper towel to wipe down all of the edges. I first paint all of the pieces with black acrylic paint.
When that paint is dry, turn the pieces over and paint the exterior faces of each piece with brushed pewter distress paint. I use a dauber top to apply the paint lightly along the mullions and exposed edges. If you prefer a shinier finish, use two coats of brushed pewter.
When the paint is completely dry, assemble the main part of the lantern. Add a small line of glue along the bottom edge of the side panels and insert the tabs into the openings in the base. I prefer to use tacky glue as it gives me a little extra open time so that I can be sure all of my pieces fit correctly, and if necessary, I am able to make adjustments before that glue has dried. I assemble three sides of the lantern base, as well as the top section. I do not glue down the uppermost top piece or the lantern door. I leave the door as a separate piece so that whatever is placed inside can be easily accessed.
A knob (handle) is added to the lantern top before it is attached to the lantern. To ensure that it is centered on the top, turn the piece over. Draw diagonal lines to opposite corners. Where these lines intersect is the center of the square.
Using a dremel (or an awl) drill a hole, large enough to accommodate the knob screw, directly at the center. Slip the screw through the hole and then screw the knob onto it from the opposite side. Once the knob is secured in place, glue the top onto the lantern.
The lantern is now ready to be adorned. I had many ideas for this piece and decided to keep it simple, thus extending the period that I can leave it out on my shelf. I die cut bunches of various evergreens, then colored them using distress inks and paints.
I create a wreath to attach to the top panel around the knob and some additional greenery pieces are located around the base.  Inside, I place a red (battery operated) candle amongst the greens.
 Note: the GSLC lantern is made from flammable chipboard, do NOT use a traditional candle inside the lantern due to fire hazard
The lantern interior is easily viewed from the exterior. It could reasonably accommodate a snowy Christmas scene inside, or even a mini faux poinsettia plant. The lantern could also be used in a non-holiday fashion; perhaps as a base for a steampunk styled piece. The possibilities for this lantern are endless. I do hope that you have been inspired to create your own lantern cage style.
Thanks so much for stopping by today, I truly appreciate it.
Wishing you a wonderful holiday season,
~Ann
 xxx


supplies:
Distress ink:
crushed olive, evergreen bough, forest moss, mowed lawn, peeled paint, pine needles
Distress paint: brushed pewter, black soot
Dremel
faux pillar candle: red
Gypsy Soul Laser Cuts: Lantern Cage Style
mixed media heavy stock (for die cuts)
pencil
ruler
Scotch 3M tacky glue
Stickles: holiday red
Tim Holtz Ideaology knob
Tim Holtz / Sizzix Alterations:
holiday greens, holiday greens mini, festive greens, funky festive,
large funky festive, wreath and snowflake