Thursday, May 28, 2020

inky waters

"inky waters"
~ Ann Barnes

there's a peacefulness that exists just below the surface, 
following the ebb and flow.
the sun's warm glow filters through inky waters,
 reflecting off the life in tow. 
this gilded light is cast upon flora and fauna,  
while swaying to and fro.


As with much of my art, I start out with an idea in mind and let the process lead me. This piece was born from the backgrounds. 
Experiments with the IZINK dye sprays in varying color combinations evoke thoughts of a vivid undersea world of sunken treasure.


A heavyweight cold pressed watercolor paper is sprayed with IZINK dye sprays and then more of these inks are layered on by dipping the paper into poured puddles and flicking the dye ink onto the surface, always allowing to dry in between layers to increase the depth and intensity of color. Oxide inks add to the push and pull of the inky depths.


I envision the shadows of a sailboat's ribs, decaying at the bottom of the ocean's floor.

Using the ancient mariner's map stencil, I layer paint onto the stencil and then transfer this onto the background.


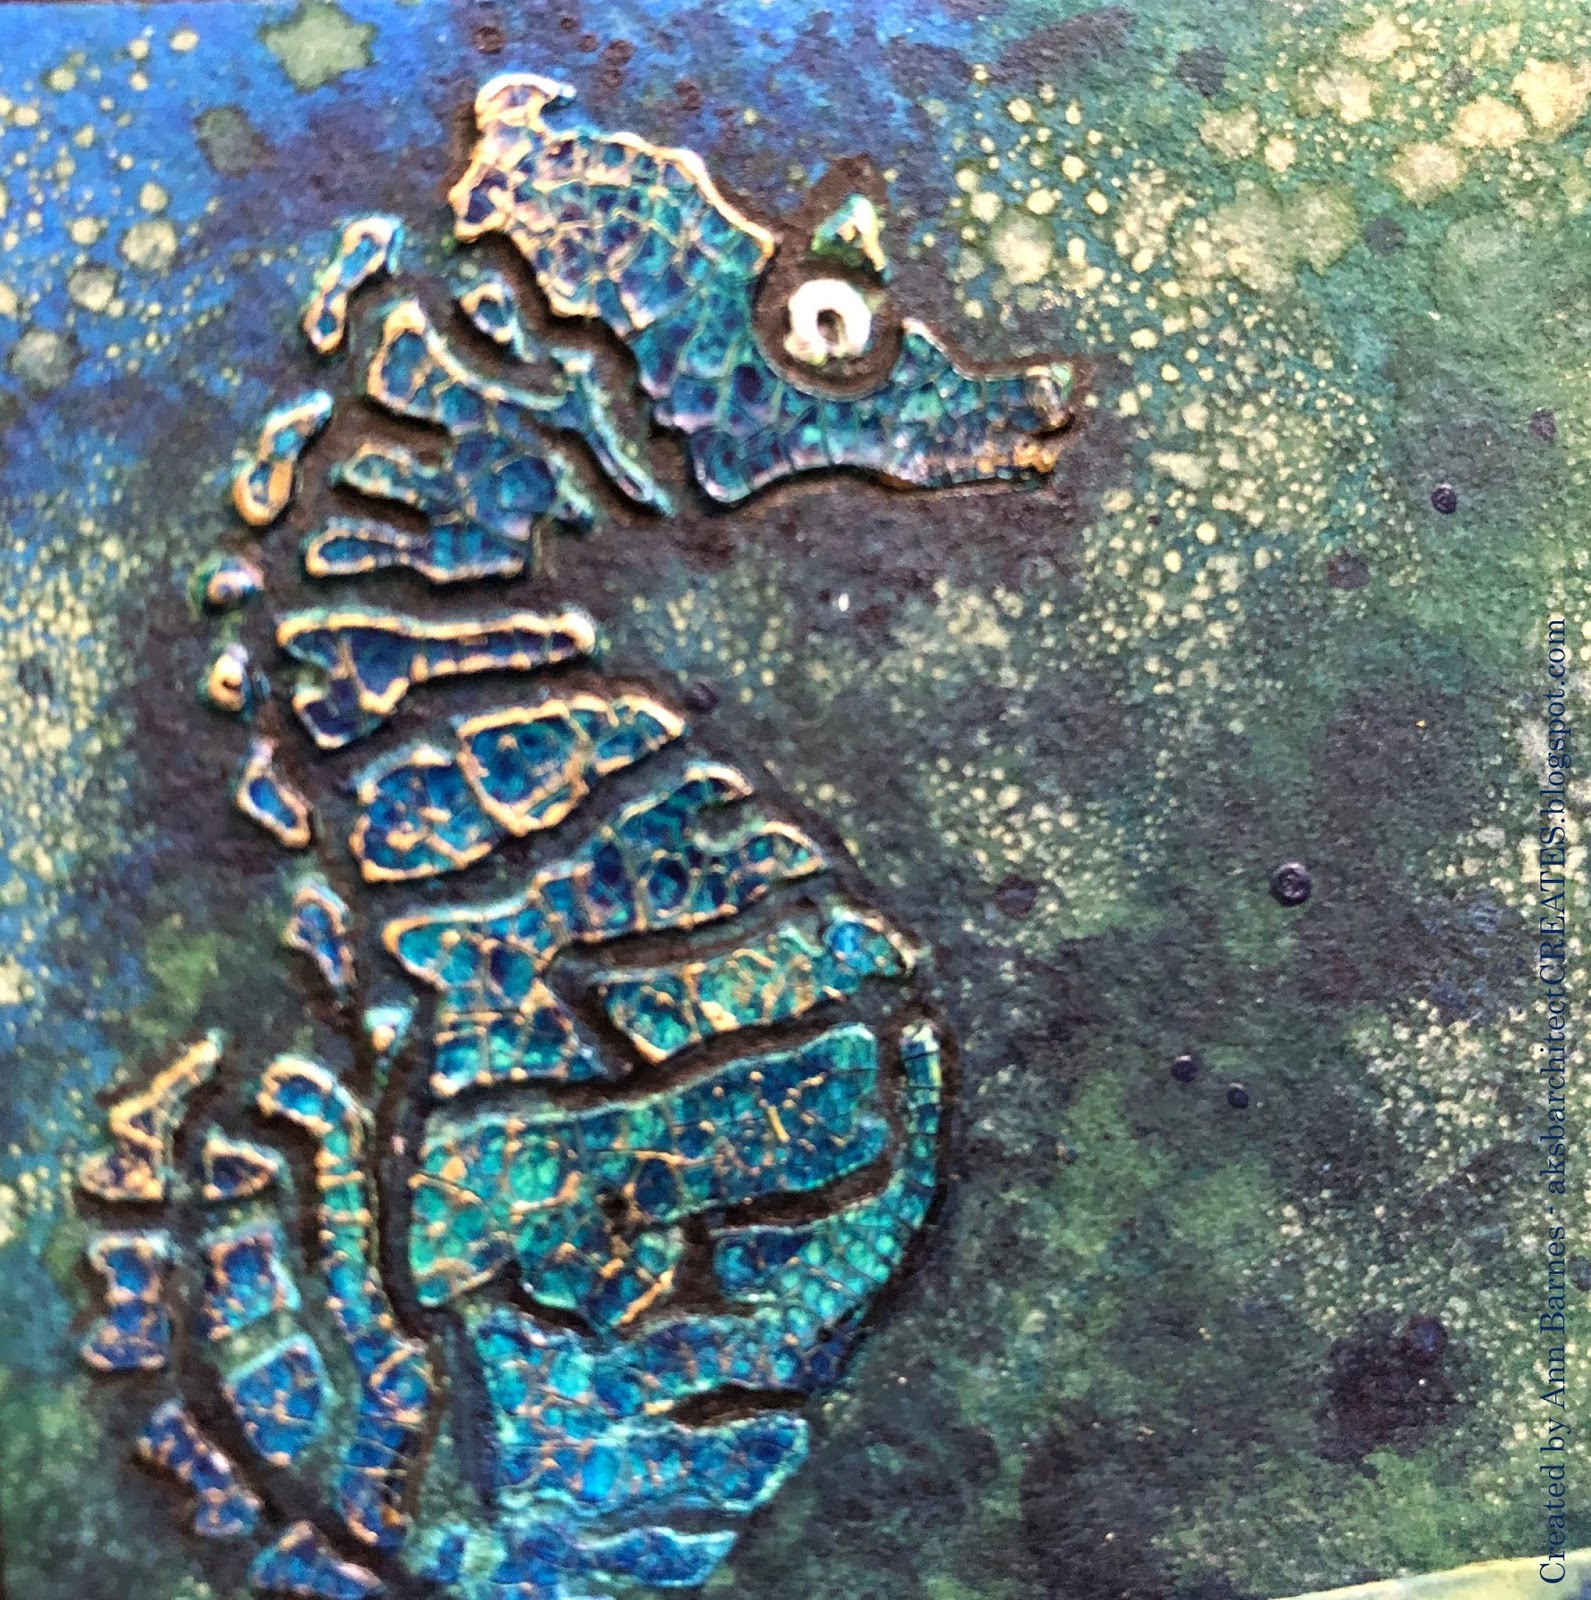
A seahorse lurks in the depths searching for its mate.

Crackle texture paste through the stencil absorbs the dye inks and provides base colors. Once the crackle is achieved, the dye inks are pounced over the raised areas and allowed to dry, increasing the depth of color. Some dabs of paint give shadow, and when it is completely dry, I use my finger to rub cold gold ICE along the raised edges to highlight the lurking form.


 Having grown up learning navigation of the waters, the value of the compass is priceless, providing direction for those adrift at sea.

Paints are sponged through the stencil and highlighted with gold ink to create an unmistakeable  beacon.


Life springs from the ocean's floor, whether it be a piece of coral or a swaying plant. 

Paint is pounced through a stencil and quickly wicks the dye ink up, blooming color through the wet medium. When the first layer has dried, I add another layer of paint to random sections allowing the coral to show itself in all its glory. 


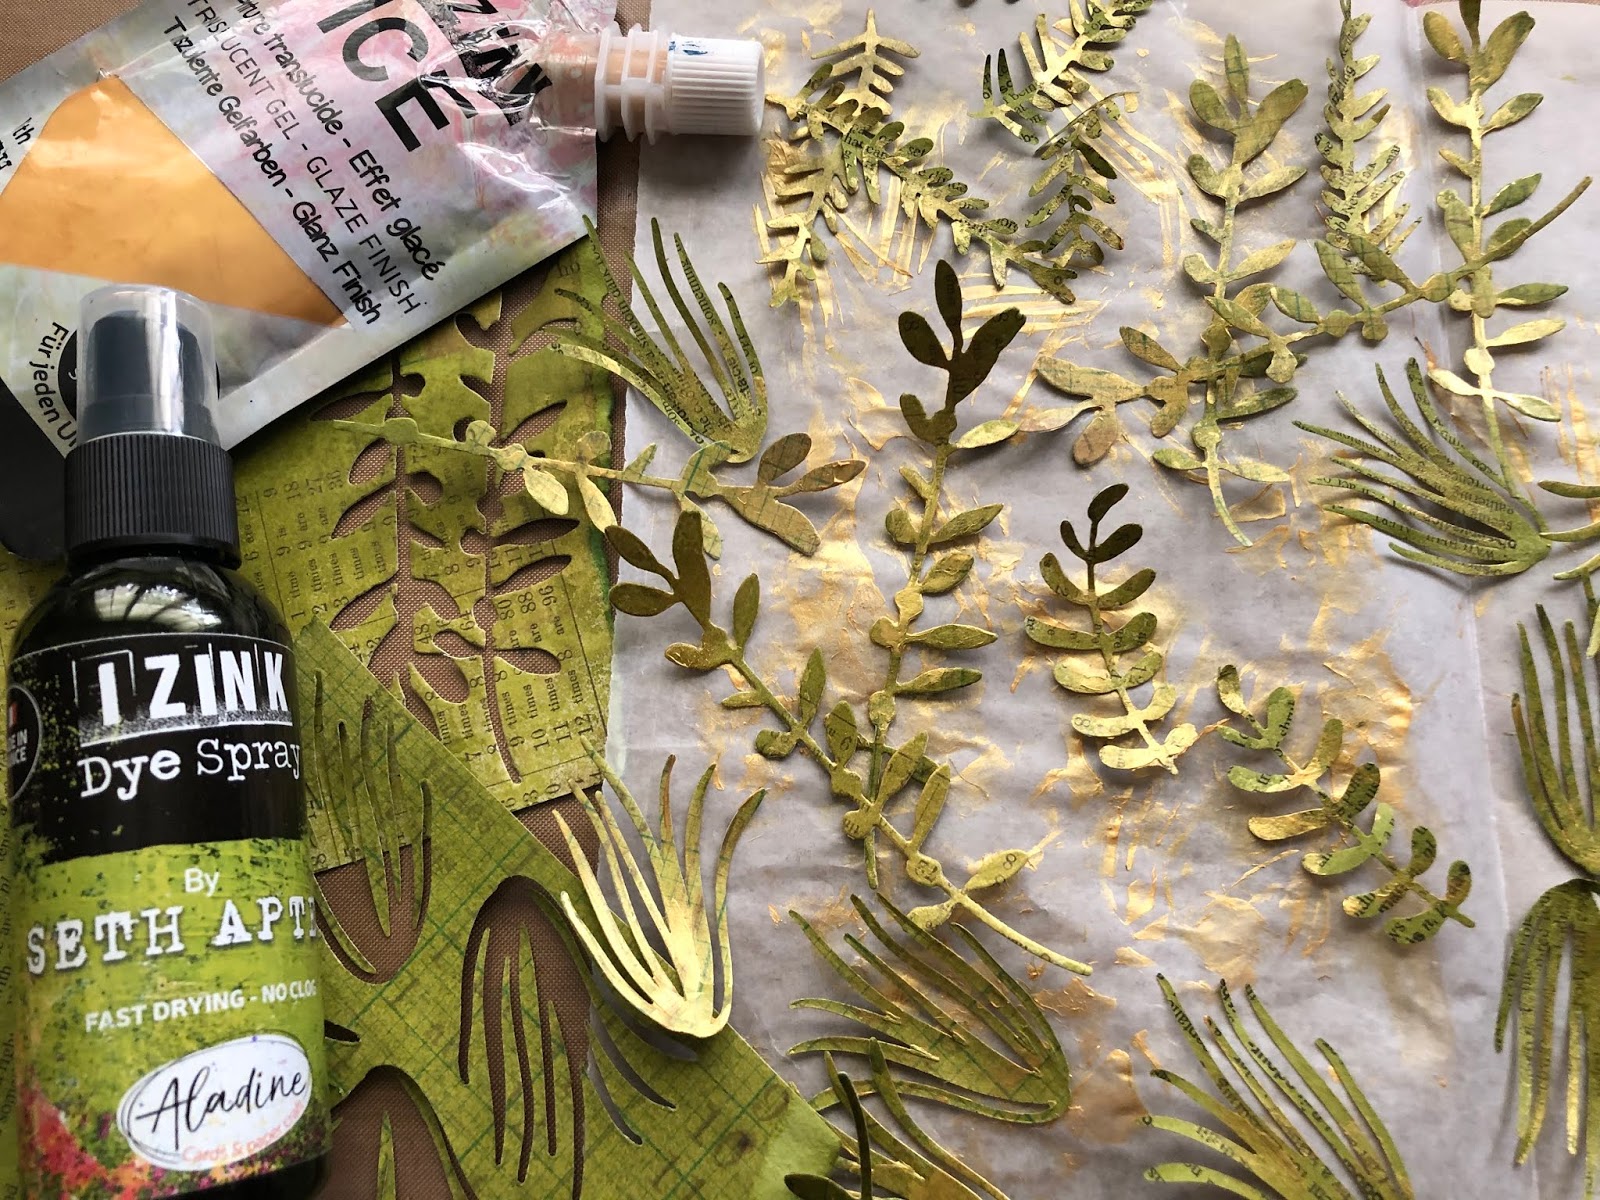
Patterned and text papers are sprayed with layers of spring green dye ink and die cut to form the plants. A layer of cold gold ICE is smeared randomly onto the vegetation and allowed to dry. 

When the sunlight is caught by this translucent gilded glaze, the plants appear to glow.


Such a glorious environment for the school of fish to encounter.

The fish images are stamped and painted with IZINK pigment inks. Mixing some unlikely colors, I am able to achieve the perfect shade of green to allow for a partial camouflage, protecting them from predators. 


I am truly honored to be part of the Seth Apter/Aladine IZINK and StencilGirl Online Hop. It's such a pleasure being able to share my love for companies that I have so much respect and appreciation for, but also to work with their products creating art to share with you.
Many thanks to Seth, Aladine, and StencilGirl for this wonderful opportunity, and thank you to everyone that has taken the time to stop by the blog, it is greatly appreciated.


There are a number of other fabulous artists sharing their art for this online hop.
It is a two day event, taking place today, May 28th as well as tomorrow, May 29th, 2020.
You can find links on Seth's blog for the artists posting their work today, and on the StencilGirl blog for the artists posting their work tomorrow. Seth is hosting a giveaway on his blog here.
I do hope you can make time to see all of the amazing pieces.
~Ann
 xxx


supplies
Seth Apter Aladine IZINK:
dye ink sprays - blue moon, lavender,  spring green, sunflower
ICE - cold gold
pigment ink - after dark, avalanche, burnt orange, ultramarine
StencilGirl stencils:
ancient mariner's map mask small with stencil
atc mix-up - daley
compass stencil


other
Daniel Smith acrylic gesso - gold
Dina Wakley Media gesso - black
Distress collage medium - matte
Distress Oxide inks - peeled paint, forest moss
Distress texture paste- crackle
foam tape adhesive
Golden fluid acrylic paint - anthraquinone blue
Liquitex acrylic ink- gold
PaperArtsy fresco paint - butter, lime
patterned and text papers
Tim Holtz Sizzix alterations dies - funky florals, garden greens
Tim Holtz Stampers Anonymous stamps - sea life
watercolor paper

Tuesday, May 26, 2020

enchanted

Maybe it's the wonderful explosion of colorful flowers brought forth with the arrival of spring,
or perhaps it's simply the warmer weather which allows for extended time outdoors; but it has me dreaming of the whimsical world of fairies.
Today I am on the Gypsy Soul Laser Cuts blog sharing "enchanted", a mixed media panel/book cover. I envision this piece being hung in a young child's room and then later being converted for use as a cover for a memory book.
I begin with a 9x12 canvas art panel, and layout the chipboard pieces to create a scene. The fairy door Mary is the largest of the pieces, so I begin by situating the door along the bottom to the left side. This door will be set into a tree. Beside the tree, some mushrooms from the mushrooms shape set, will sit among grass and create the perfect perch for the fairies.
Once all of pieces are selected, I sketch an outline for what will become the tree trunk. Texture paste through a stencil creates the wood grain/bark effect. Be sure to trace the door outline before adding the texture paste so that the texture does not impede placement of the chipboard door frame. Allow the texture paste to dry.
Next, I paint the sky using layers of blue acrylic paint in different shades. Blades of grass will be painted along the bottom of the panel. Once I am satisfied with the sky, I paint the grassy bottom edge, as well as the brown tree bark. The painted panel is set aside to dry while I work on painting the door and mushroom pieces.
The door itself is treated the same as the tree. Stenciled texture paste creates the wood pattern, and once dry, a layer of brown paint is added. The door frame consists of two pieces, for this project I am only using the base piece, Since my door is set into a tree trunk, I decided not to use the "stone" patterned piece. Instead, I use texture paste to create a rough texture on the flat around and paint it to create the look of a knot where the bark has grown dark with age and the elements. Before the door and surround are secured into place, I add a glow to the canvas where the window opening is located using gold and coffee ICE.
The mushrooms are painted with acrylic paints to give a realistic look and the grassy base is painted to match the grassy base of the panel. A piece of gessoed and painted book page adhered to the reverse side of the mushrooms creates a solid backing for the cutouts. Once the pieces are complete, they are added to the base of the panel with collage medium. I set a weight on top to keep them flat while they dry.
Three fairies from the garden fairies medium set are coated with embossing ink, sprinkled with charred gold embossing powder and heat set. They are adhered to the panel with collage medium. Using a stencil, I emboss swirling stars around the fairies.
Die cut letters, painted in the deepest shade of the sky blues, form the word "enchanted" in the sky.  
The back side of the panel is covered with patterned scrapbook paper, to give a finished appearance.  
Thank you so much for stopping by today, I truly appreciate it.
I hope that wherever you find yourself these days, you are able to enjoy the beauty that nature is providing us during these unsettling times.
I wish you all the best, stay healthy and take care.
~Ann
  xxx


supplies used:
canvas art panel
DecoArt acrylic paint: raw umber,
dictionary pages
Dina Wakley Media: white gesso
Distress collage medium: matte
Distress texture paste: opaque
Distress paint:
 gathered twigs, walnut stain, vintage photo, black soot, barn door, picket fence
Emerald Creek embossing powder: charred gold
Gypsy Soul Laser Cuts:
fairy door marygarden fairies mediummushrooms shape set
Paper Artsy fresco finish paints:
buff, denim blue, mud, venice blue
Seth Apter / Aladine ICE: cold gold, iced coffee
Tim Holtz / Sizzix alterations strip die: gothic
Tim Holtz / Stampers Anonymous stencil: SSS stamptember - swirling stars

Tuesday, April 28, 2020

beautiful authentic life...a journal

As with most of the nation, these days I find myself sequestered at home. Although this creates a mixed bag of emotions, I find myself appreciating the little things I see outside my window. This is the inspiration behind today's project for Gypsy Soul Laser Cuts. I have created a tribute to the emergence of spring in the form of a small journal.
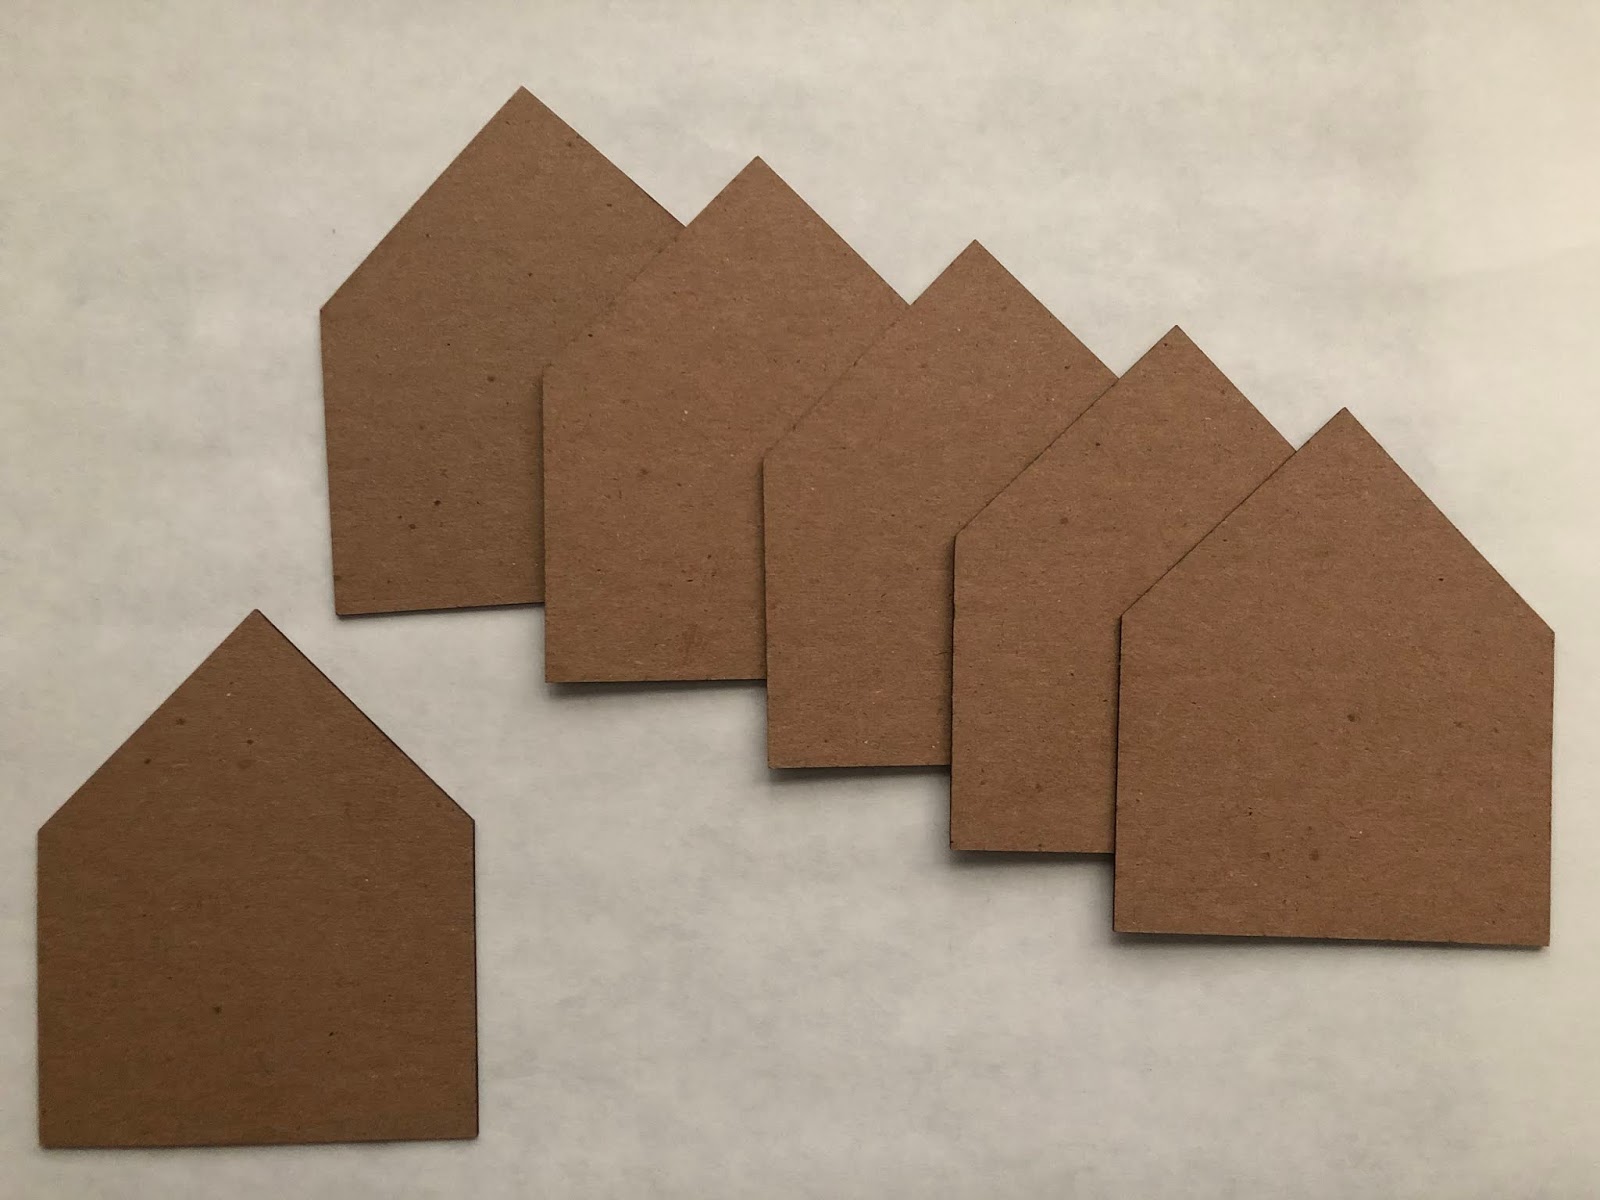
  I begin with the GSLC mini house album.
This set contains six small house shaped chipboard pieces.
 
Next, using collage medium as an adhesive, I covered one side of each house with old dictionary paper. When completely dry, I cut any overhanging edges with an exacto knife, then adhered the paper to the back sides of the houses in the same manner.
Each papered side is coated with a layer of clear gesso. After the gesso is dry, it is time to begin adding details. I start with Paper Artsy fresco finish paints. Using the dry brush menthod, venice blue is applied leaving areas of the dictionary text to show through. Wild grass is painted along the bottom of each of the houses. Each of the pieces is painted on both sides, allowing time to dry in between layers.
While the painted pieces are drying, I die cut various wildflower shapes from watercolor paper. These pieces are then colored with a water brush and distress inks. 
The flowers are added to the different pages using collage medium.
Using a foam sponge, I lightly apply paint to each of the pages using a rays stencil to create the look of sun shining down upon the beautiful scenes. I make sure to keep the paint light so that it does not overpower the appearance of sky and also allows that dictionary pages to show through.
When the paint is dry I add various rub on words to each panel.
Following are some close-ups pictures of the journal.

I hope that you all are managing alright through these trying times. 
I look forward to the days when we will be able to gather once again, giving hugs to those we love.
Thanks you so much for taking the time to stop by today, 
I truly appreciate it.
~Ann
 xxx


supplies used:
old dictionary pages
Darkroom Door stencil: rays
Distress ink: 
peeled paint, crushed olive, spiced marmalade, carved pumpkin, coral, dusty concord, wilted violet, festive berries, fossilized amber, milled lavender, mustard seed, straw, rusty hinge 
Distress paint: peeled paint
Distress collage medium: matte
Distress watercolor cardstock
Gypsy Soul Laser Cuts: mini house album
Paper Artsy fresco paints: butter, venice blue
Tim Holtz Ideaology: rub-ons
Tim Holtz / Sizzix dies: flower jar
Tim Holtz / Stampers Anonymous stamps: natures elements 


Tuesday, March 24, 2020

hope for tomorrow

In light of all that is happening in the world these days, I want to create a project that expresses hope, hope for tomorrow and all the days beyond. For me, I find this hope when I look inward to my faith. In my religion, during the Lenten season, we prepare for our salvation to come. I find it fitting that the current situation is taking place during Lent. 
Whatever religious beliefs you hold, I hope that you can find some peace from this message of hope that I wish to convey.
I begin with a Gypsy Soul Laser Cuts vintage triptych florentine. Although this set contains four pieces, my final project only uses three of them, I have omitted the central frame piece.  I search through my collection of old religious cards and images to find one that best fits the message I want to convey. With the image in hand, I begin work on the finishes.
Some of my favorite and most cherished religious art is in the form of icons. We have a number of antique pieces that I adore, some formal while others are almost rustic in appearance. I would like this piece to be a blending of the two.
On the exterior facades of the main central panel as well as the two half panels, I add texture using a stencil, palette knife, and transparent matte texture paste. This is applied randomly to give a timeworn appearance.
When the texture paste has fully dried, I add a coat of white gesso to the interior of the central panel where my image will be located. Next, I paint a layer of acrylic paint on all of the remaining surfaces. I set this aside to dry completely.
Using the central frame piece, I trace the open edge onto the rear face of the painted pieces. I paint  in the framed edge with a brushed metallic acrylic paint and allow to dry. 
I flip the pieces and begin to add some of the metallic paint along the edges of the two side panels freehand.
Using two Gypsy Soul Laser Cuts rose border pieces, I trim each down to accommodate the two flanking sides. The trimmed pieces are attached with craft glue and when the glue is dry, they are then painted with the acrylic base coat color. 
A layer of gilding wax is rubbed along the raised rose details.
The image I have selected for the central panel is attached with a layer of collage medium and then covered with another layer of collage medium, once in place. After the collage medium has dried, I sand the edges to remove any excess and create a clean edge.
I decide that the central panel should have an edge like the sides. Using the brushed metallic paint and a medium brush, I create a border around the edge. The paint is not opaque and therefore requires two coats.  Once the edge has set, I cover the focal image with a mask and then using a stencil add rays extending outward from the risen christ figure. One layer of the paint lightly applied through the stencil creates the exact look I am hoping to achieve. A few thin lines of the base color painted along the inside border finish the central panel.
Hinges are used to secure the three pieces together. The small screws are longer than the chipboard thickness, so a strong adhesive is used in place of the fasteners. (Note: You can cut the tops of the screws off and surface glue them into their respective locations after the hinges are secure for a "faux" look.)   
The wax is used to accent the raised stenciling along the exterior face of the triptych.
I hope that you are healthy and remaining safe during the unsettling times. I have faith that with time, we will get through this together and be stronger as a community, a nation, and as a whole. 
Remember to never lose sight of hope, wherever you may find it.


Thank you so much for taking the time to stop by the blog today, 
I truly appreciate it.
~Ann 


supplies:

Art C gilding wax
Distress collage medium: matte
Folk Art acrylic paint:
madeira matte, brushed bronze matte
Gypsy Soul Laser Cuts:
(2) rose border
Ranger / Dina Wakley Media: white gesso
Ranger texture paste: transparent matte
Stampers Anonymous / Tim Holtz stencils:
THMS070, THS116