
Being that February is upon us, and everywhere we look we are reminded that Valentine's day is near, I am sharing a tutorial for my love letters folio on the Gypsy Soul Laser Cuts Blog. This piece is something that could be used anytime of year, to store special love notes received, or even simply to store your favorite stationery for writing letters.
 Before starting my project, I like to assemble the pieces I plan to use (without adhesive). This gives me a visual of how the final piece will present, as well as an idea of the areas that will be covered. I have really been enjoying creating my own papers lately. I am using these along with preprinted designs. This allows me to coordinate the colors exactly as I like. The GSLC folio and mini book has many surfaces that will need finishes.


I was so pleased with the way this folio turned out, I think it will be a beautiful way to store treasured notes and other things.
 I hope that you have enjoyed my post, and perhaps it has inspired you to create something.
The design team and I'd love to see what you create with Gypsy Soul Laser Cuts. If you haven't joined already, please consider sharing your work on our Gypsy Soul Laser Cuts Craft Group facebook page.
Thanks so much for stopping by.
~Ann
xxx
Supplies
copper 21 gage wire
Deco Art: metallic worn penny acrylic, one step crackle
Distress collage medium - matte
Distress ink: aged mahogany
Distress Mica Spray
Distress Oxide inks:
aged mahogany, dusty concord, gathered twigs, ground expresso, hickory smoke,
seedless preserves, victorian velvet, vintage photo
glittered washi tape
Gypsy Soul Laser Cuts:
alphabet stencil blanks, folio & mini book, double hearts flourish
LINECO linen hinging tape
Ranger Perfect Pearls: forever red, perfect copper
Scor-pal tape
Tim Holtz Ideaology: nailhead brads
Tim Holtz / Sizzix die: bigz love struck


With an idea in mind, I raid my stash of special papers and select some pieces to use as accents. Using distress oxide and distress inks, I create custom papers that coordinate; then, also gather some embellishments that I might like to incorporate.

All of the edges of the bare chipboard base are inked with distress ink. This makes for a finished appearance at the edges where the paper and chipboard meet. Along the areas that will be opened and closed repeatedly, I add linen hinging tape and ink on top of that. This serves to reinforce the edges that will repeatedly be folded back and forth, thus extending the life of the folio.

Depending on the area of each surface, I determine what will be the best adhesive for attaching the finished paper. Along the spines, I use collage medium and in the larger, flat areas, I use sookwang double sided adhesive tape. I begin by covering the interior surfaces of the folio. Glittered washi tape adds a bit of interest along the edges of the paper at the fold locations, while sparkle ribbon edges the pocket that will hold the mini book.

In an effort to create more spaces to tuck special notes, a piece of my inked paper is attached only at the top and bottom, creating a central pocket and the two squares of decorative papers that flank either side are open at the top for additional secret compartments. A die cut heart is inked and wrapped with copper wire and beads, then attached to the special pocket.

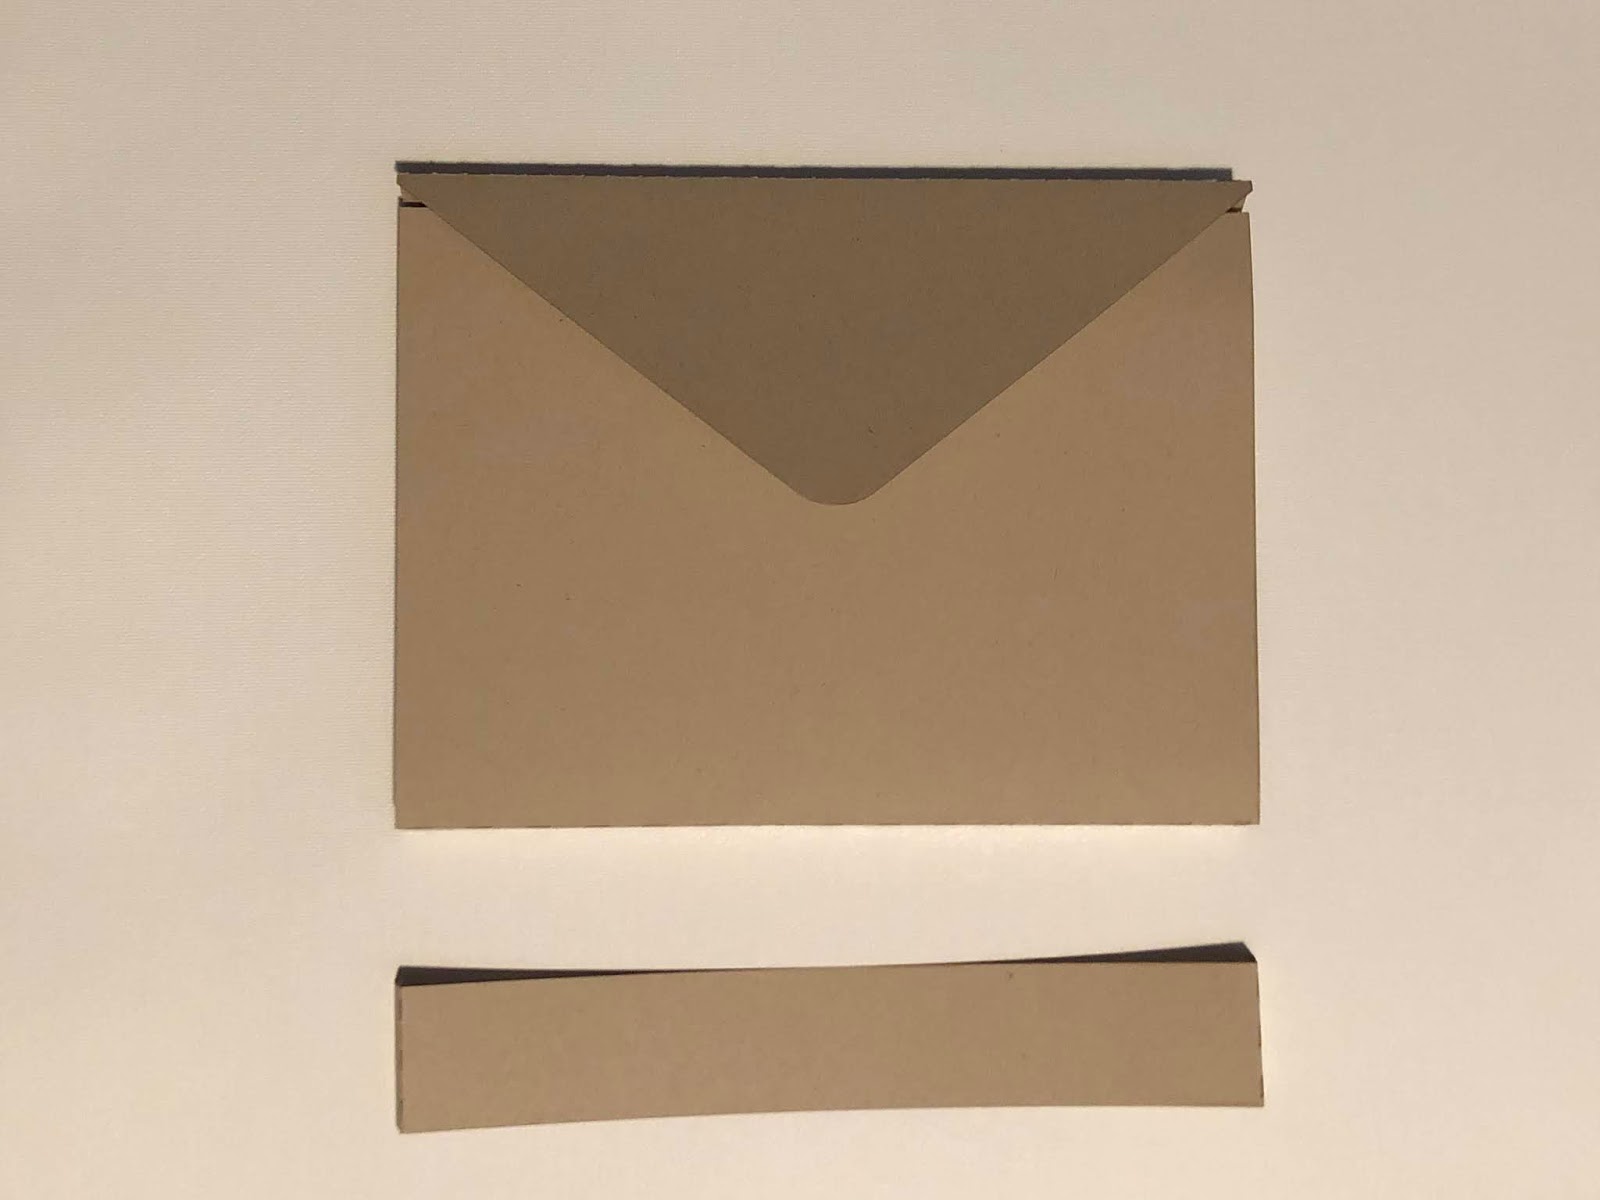
Included with the folio and mini book set is a 4 page chipboard book base. Instead of creating a book to slip into the folio pocket, I use one piece of the folded base to create a stationary holder.

To create the insertable holder, I adhere decorative paper to the outside cover and add "X" and "O" from the Gypsy Soul Laser Cuts alphabet stencil blanks. These stencil blanks are so fun to incorporate into your project, they can be used separately (as I have here) or even as a complete set.

Each stencil blank is painted with copper colored paint and allowed to dry. I then attach a piece of distress oxide inked paper behind each stencil blank and the combined pieces are secured to the cover with decorative brads. The stencils are only attached at two corners to allow additional opportunities to tuck special things.


The interior of this part is simply covered with papers. When open, each side contains a pocket along the edge to hold stationary and envelopes or, treasured, keepsake love notes, whichever you prefer. Pieces can also slip into the bands on the pockets.

As much as I had anticipated keeping the outside of my folio simple, I could not resist using the GSLC double hearts flourish as an accent. It's size fit so perfectly onto the back outer panel, and I saw it as an opportunity to bring a bit of the copper accents seen on the inside to the outside. This heart piece can be used in so many ways. Either layered (as I have) or separately, it is wonderful as a frame or even just as a decorative element.

For the folio, I paint the top scrollwork heart with copper colored paint and allow to dry. Is is adhered atop the bottom layer which has been inked with distress ink and then crackled. After they are secured with collage medium, I wrap some copper wire around the edges at three locations to form "X"s. Then some spiraled pieces of wire are attached. This piece is adhered to the back cover (distress oxide inked paper) with hot glue.

The folio and mini book set comes with a belly band; however, I did not use this piece. The front flap of my folio is secured by means of a piece of lace that has been inked.

The colored lace, once dry, is secured with collage medium along two and a half inches in from each side. The middle portion of the lace is not attached, which allows the flap to slide under it. Another die cut heart (inked and coated with crazing) is attached to the lace piece with mini staples in an "X".

I was so pleased with the way this folio turned out, I think it will be a beautiful way to store treasured notes and other things.

The design team and I'd love to see what you create with Gypsy Soul Laser Cuts. If you haven't joined already, please consider sharing your work on our Gypsy Soul Laser Cuts Craft Group facebook page.
Thanks so much for stopping by.
~Ann
xxx
Supplies
copper 21 gage wire
Deco Art: metallic worn penny acrylic, one step crackle
Distress collage medium - matte
Distress ink: aged mahogany
Distress Mica Spray
Distress Oxide inks:
aged mahogany, dusty concord, gathered twigs, ground expresso, hickory smoke,
seedless preserves, victorian velvet, vintage photo
glittered washi tape
Gypsy Soul Laser Cuts:
alphabet stencil blanks, folio & mini book, double hearts flourish
LINECO linen hinging tape
Ranger Perfect Pearls: forever red, perfect copper
Scor-pal tape
Tim Holtz Ideaology: nailhead brads
Tim Holtz / Sizzix die: bigz love struck


3 comments:
Ann, I love your LOve Letters Folio, especially the colors and that really cool way you designed your heart; the copper wire works perfectly with the copper painted stencil pieces. And the colors on this are just fabulous! Your Oxide panels are beautiful and work so well with the designer papers you chose. Great tutorial; Thank you for the inspiration; I would love to make one of these (or two--I know my hubby has kept all his 'love letters' from me :):)). Sending hugs!
Oops, I guess you can see I REALLY love the colors--mentioned it twice! Doh!
Wow, is the recipient going to be over the moon for this! The deep dark aged mahogany... My very favorite color. . Is amazing and sultry. Love the inside too and x and o rock.
Post a Comment