
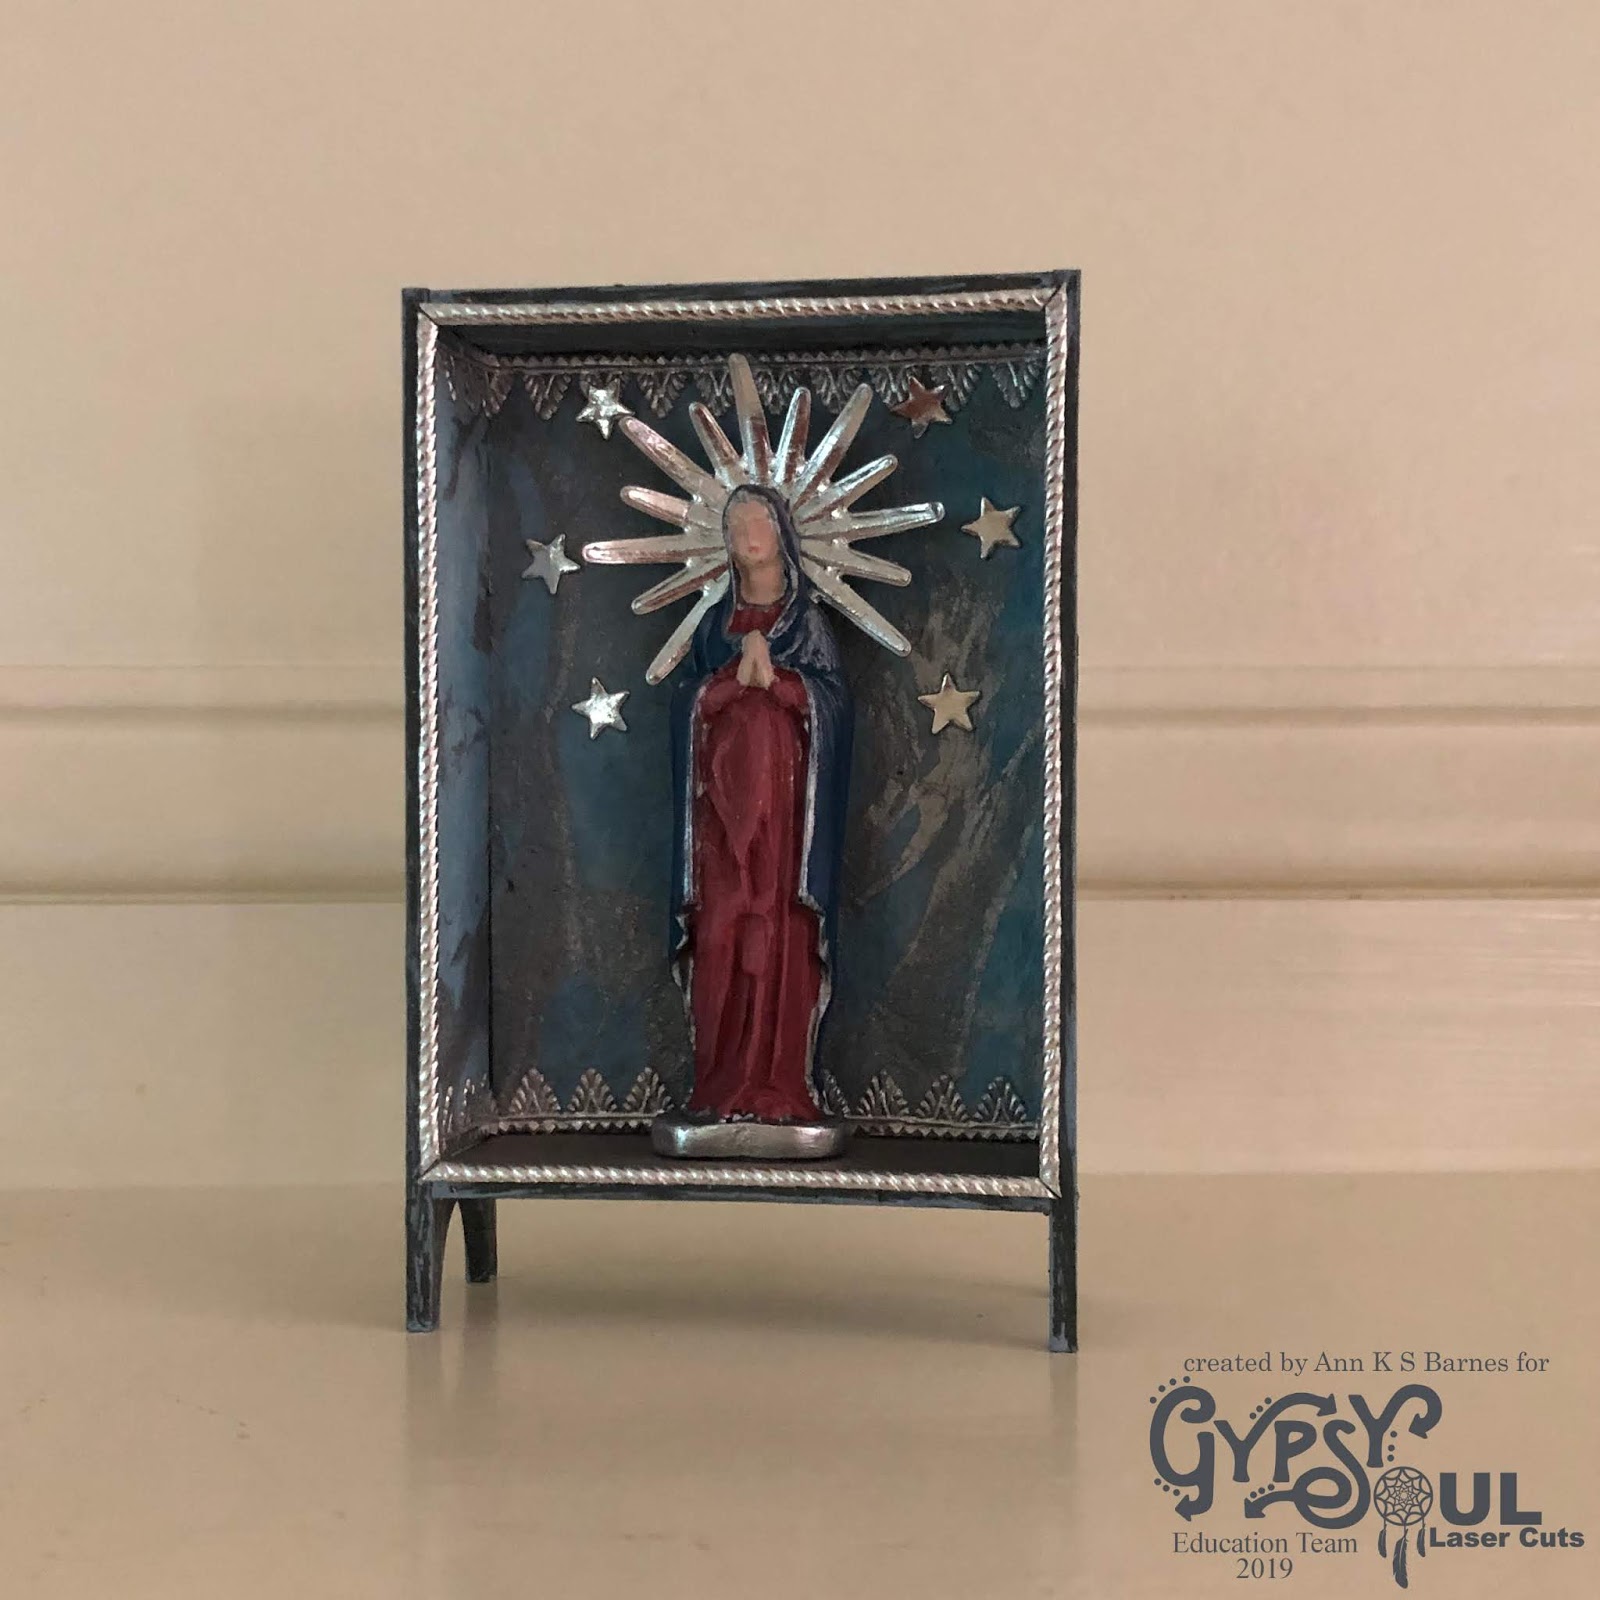
Hi everyone, today I am on the Gypsy Soul Laser Cuts blog sharing "madonna enshrined." A small shrine I created to showcase a hand painted madonna. I love creating religious pieces and recently acquired a mold to make these small Mary statues. I was so excited when I realized that she fit perfectly in the GSLC ATC Shrine with Feet.
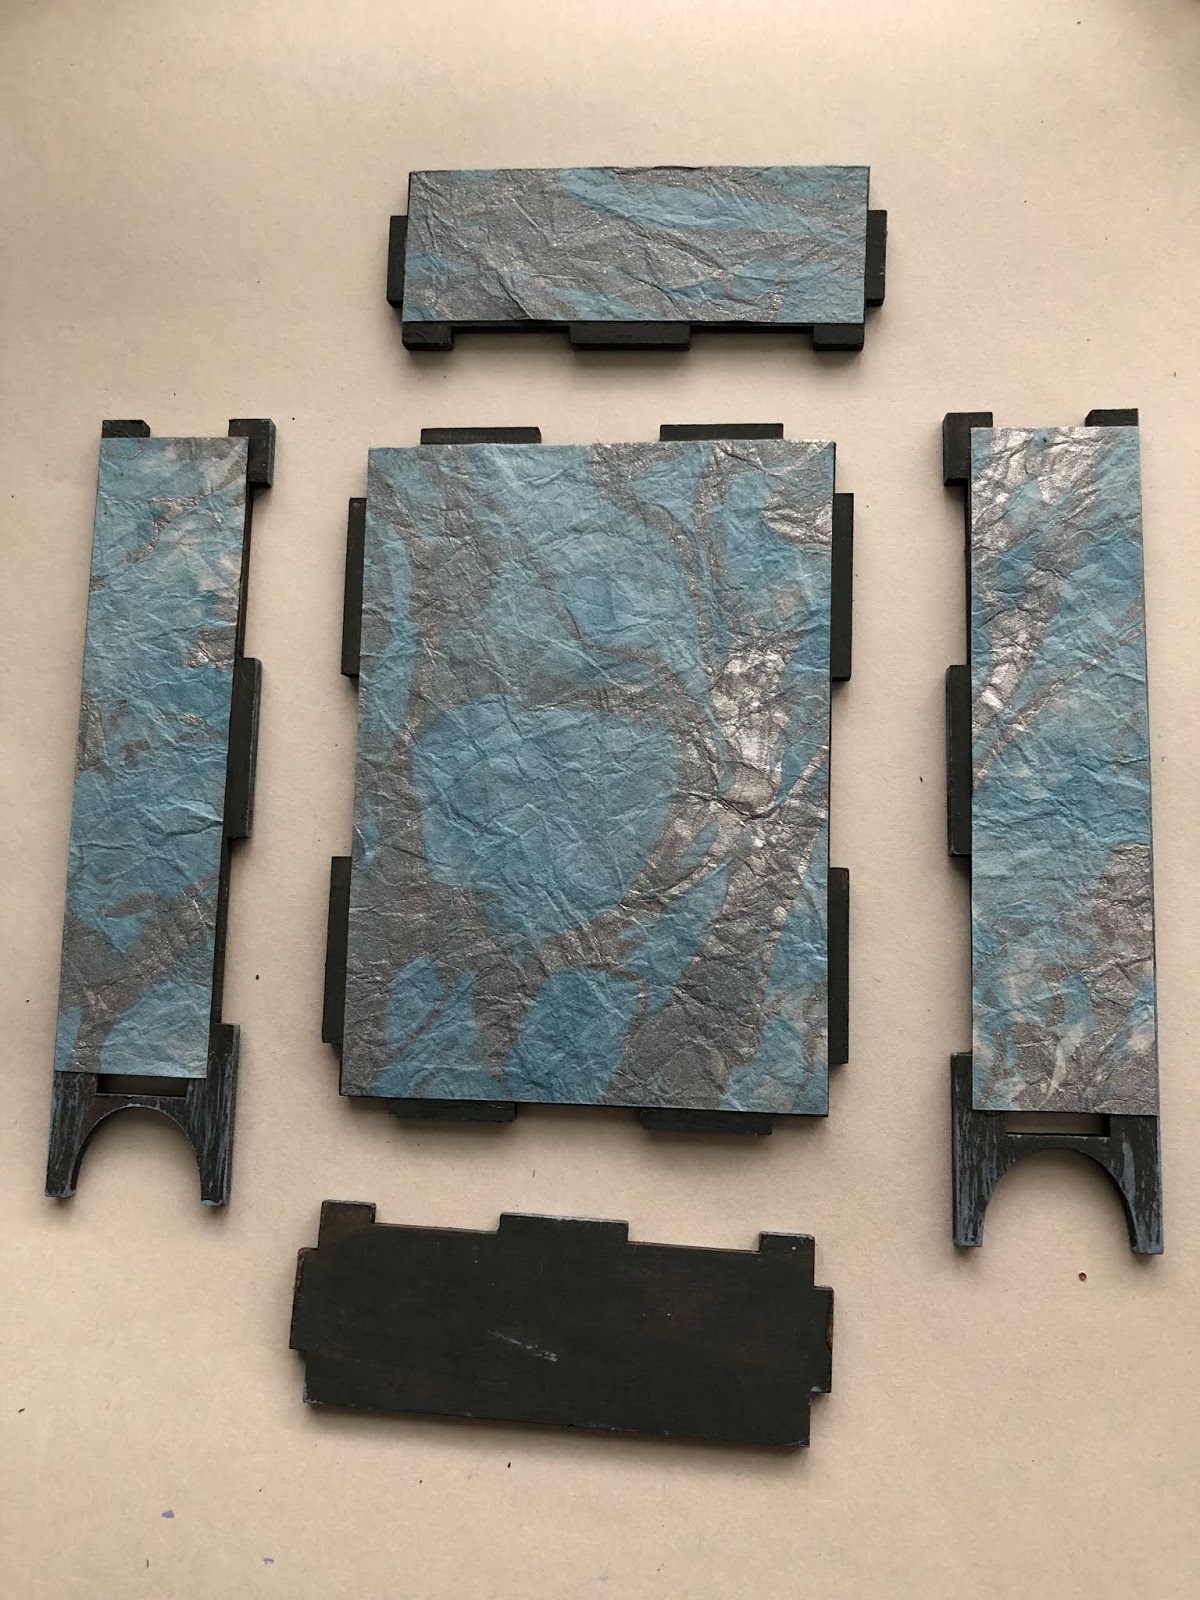
I begin with a Gypsy Soul Laser Cuts ATC Shrine with Feet. I always like to lay out the pieces and see how they all fit together prior to adding any finishes. This helps me to understand what areas are visible, as well as lets me envision how I want the final piece to look.

I cover all of the chipboard pieces with a light coat of grey chalk paint. This piece is made from medium weight chipboard, so it's not really a problem, but it's always a good idea to stick to light coats of paint that dry quickly, adding more coats as needed instead of one heavy wet layer, it helps avoid warping. Once the base color has dried, I dry-brush some pickling finish onto all of the exterior surfaces, including the exposed edges. I want to give the shrine the look of weathered wood.

When the finish is completely dry, I cut some marbled Momi paper, from my special paper stash, to cover the the interior surfaces. Since I will be attaching the statue to the bottom, I cover it with a piece of heavyweight charcoal gray paper. The papers are cut to fit just inside the assembled piece, this way they do not interfere with the interlocking tabs that hold the shrine together.


Next, I paint the resin figure to be included, and add silver detailing. I add a die cut 3D radiant piece to her head to create a halo. I also add silver die cut stars onto the back panel. The madonna statue is attached to the base with collage medium and set aside to dry overnight.


Hope your day is a creative one.
~Ann
xxx
Gypsy Soul Laser Cuts:
ATC Shrine with Feet
other products:
Distress collage medium: matte
Dresden trims
Folk Art: chalk paint, pickling finish
Mullberry Paper: marbled Momi
Paper Artsy fresco paints
Retro Cafe Art silicone mold
Resin Madonna
Tim Holtz / Sizzix Alterations dies: 3D radiant, shape strips


2 comments:
Ann, you have coloured your Madonna beautifully and she looks wonderful in the ATC shrine you created. The stars and Dresden trim are lovely finishing touches. xx
A lovely serene setting for your beautifully painted Madonna - what an atmospheric piece.
Alison x
Post a Comment