
In our house, the arrival of September means that Halloween planning is fully underway. To get into the spirit, as well as create a fun place to tuck mementos and pictures from the many spooky celebrations, I have created an extra large tag book I am calling "a creepy collective".
Today I am on the Gypsy Soul Laser Cuts blog, sharing the first of a two -part post.
In this first post I explain how I assemble the Gypsy Soul Laser Cuts tag book, and in part two, I will be sharing all of the decorated interior pages, loaded with fun Halloween ephemera, die cuts, embellishments and chipboard pieces from Gypsy Soul Laser Cuts.
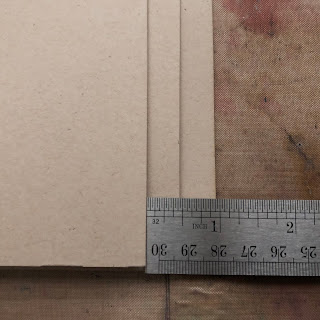
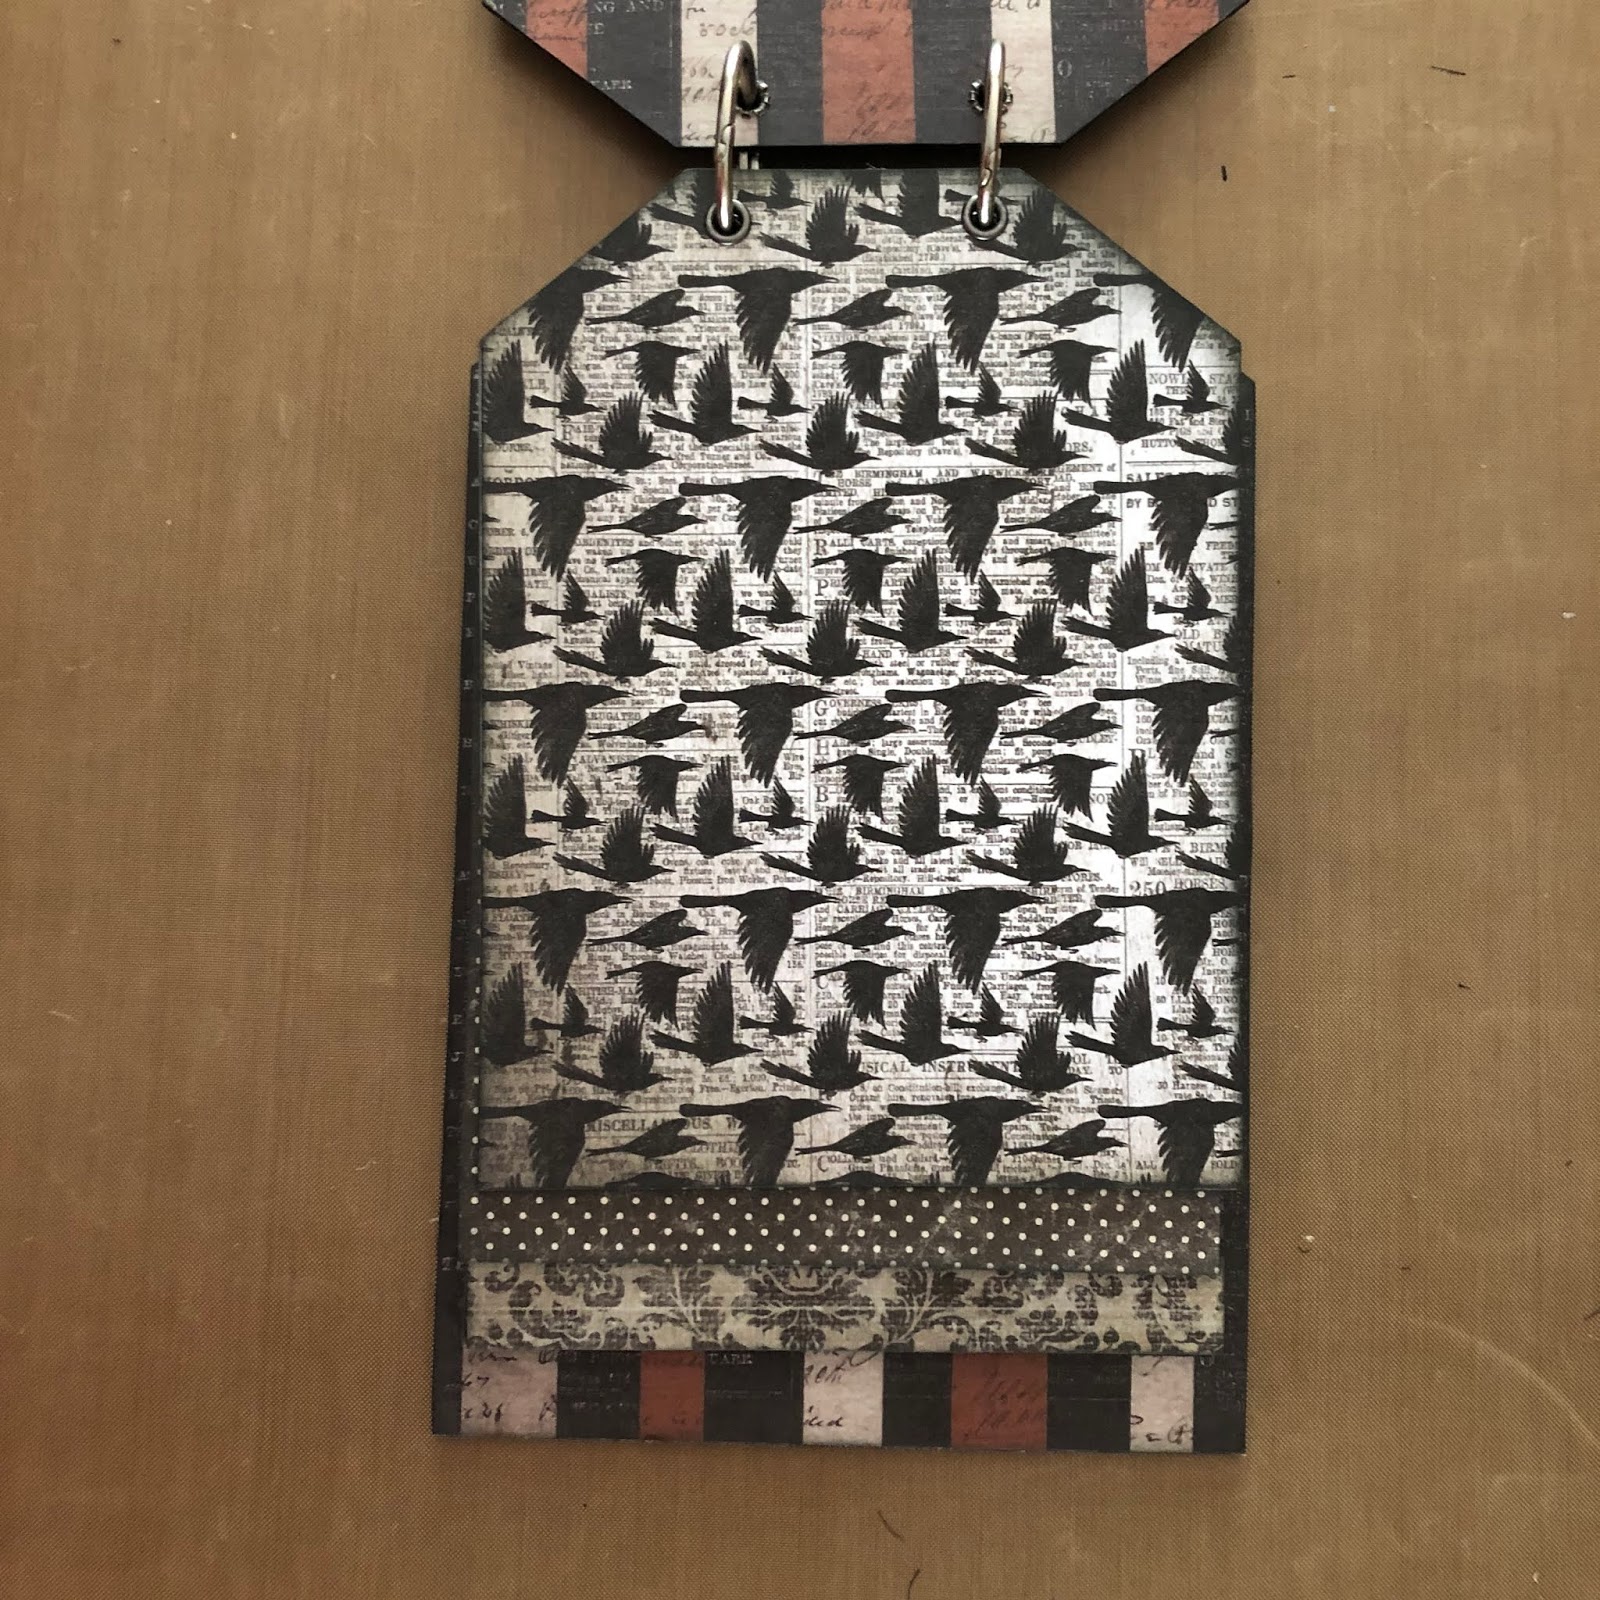
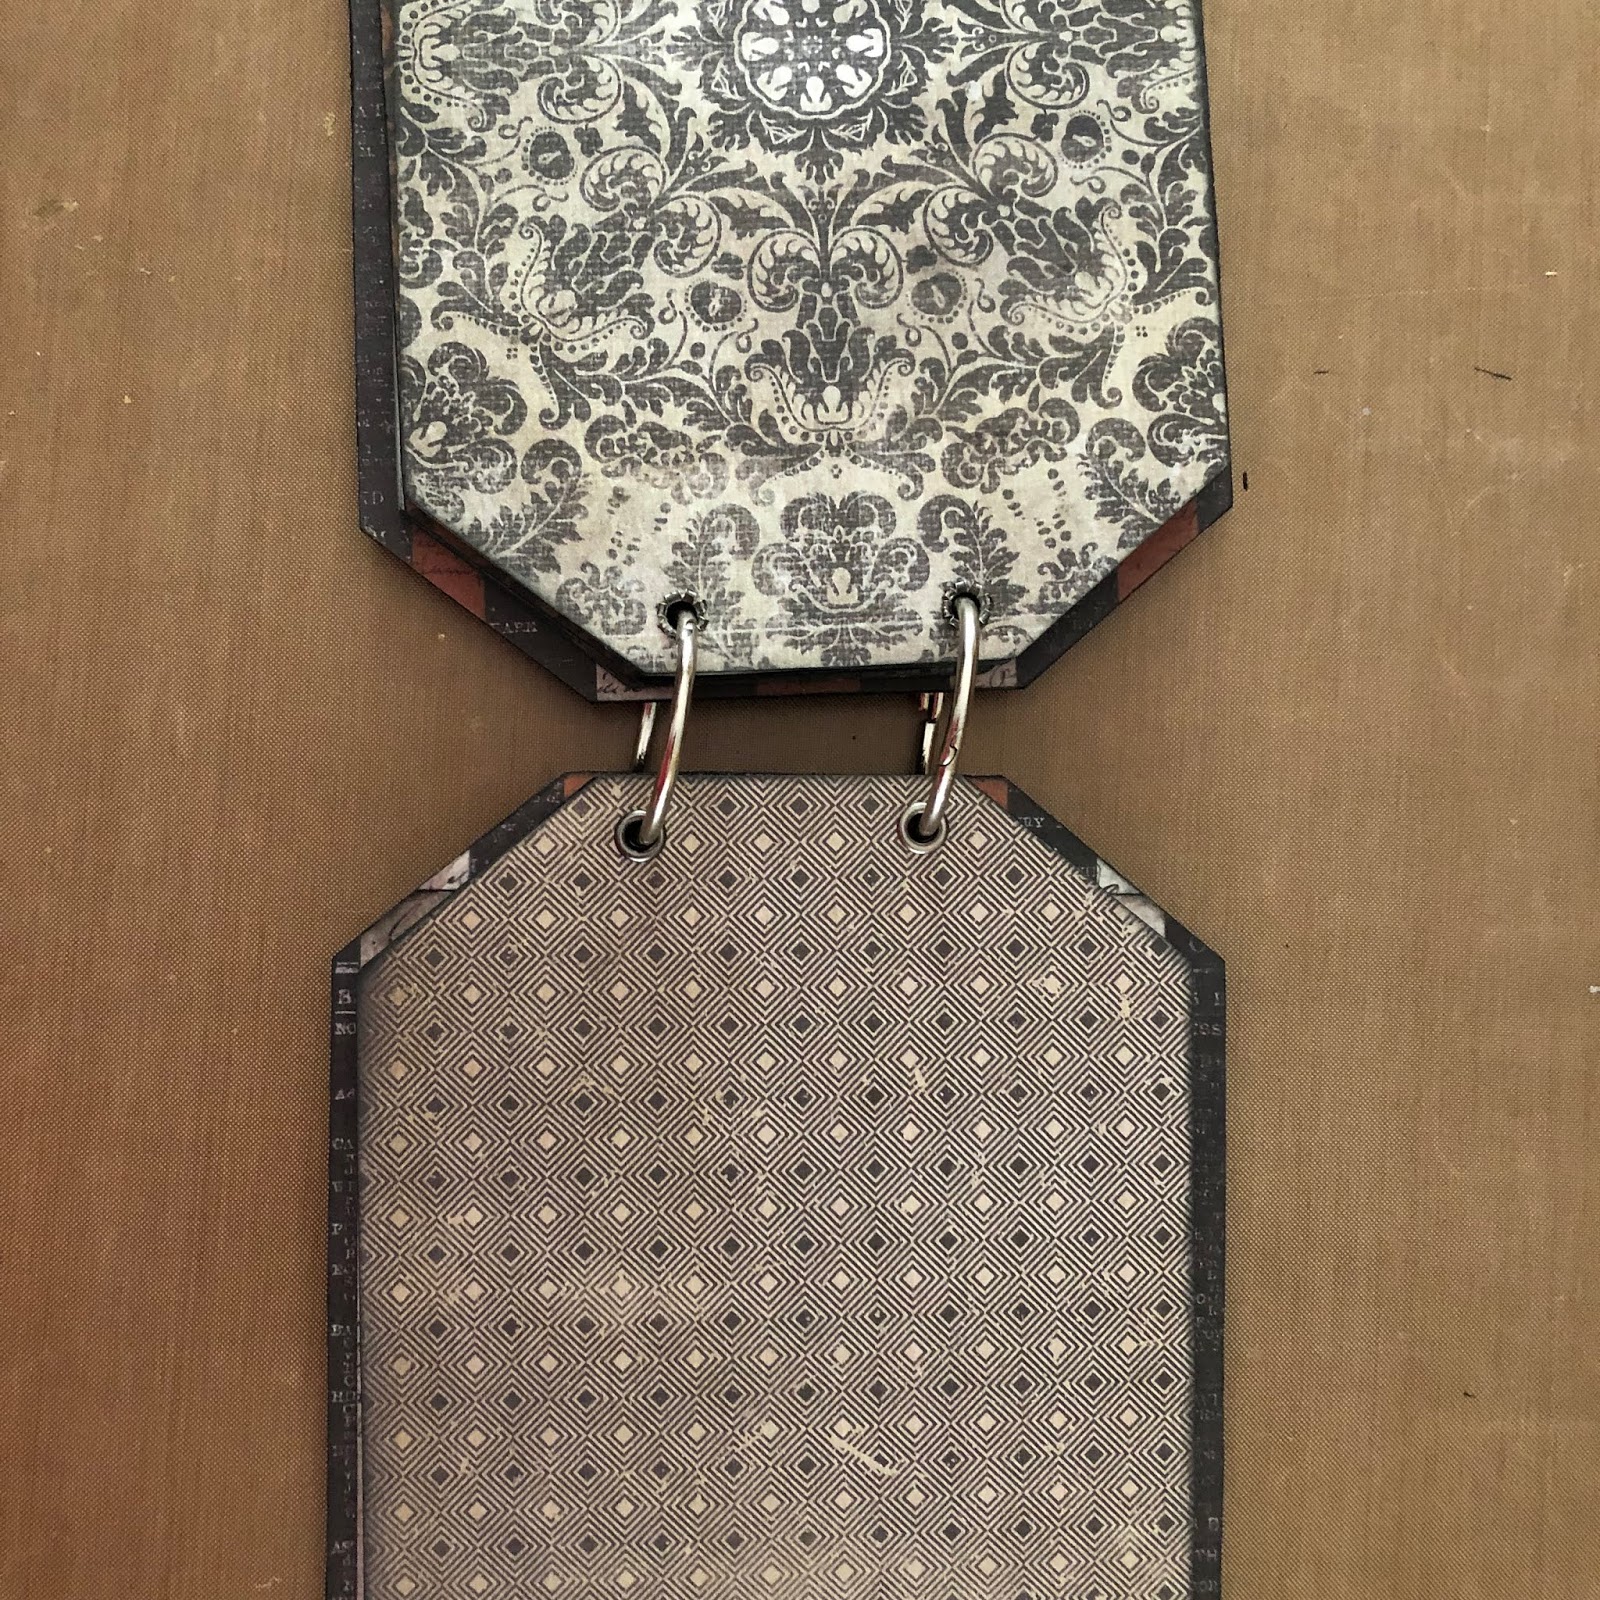
 There are many different ways that this GSLC tag book can be assembled. It arrives flat in nineteen pieces, providing copious, varied surfaces for you to finish in your own style. Although I believe the traditional assembly would be to hinge along the short flat side of the cover tags and pages, I decided to hinge my book at the angled side. This leaves me added space for embellishments. Because the tag book is not pre-cut for any particular binding method, it allows you, the end user, the option to bind in any method of your choosing. As you can see, I have used a ring binding method.
Today I am on the Gypsy Soul Laser Cuts blog, sharing the first of a two -part post.
In this first post I explain how I assemble the Gypsy Soul Laser Cuts tag book, and in part two, I will be sharing all of the decorated interior pages, loaded with fun Halloween ephemera, die cuts, embellishments and chipboard pieces from Gypsy Soul Laser Cuts.

So let's begin...
 Here you can see all the wonderful pieces that are included in the Gypsy Soul Laser Cuts Tag Book set: covers, 6 pages, 6 inserts, 3 accent tags, and 3 belly bands. The covers are heavier weight chipboard to accommodate many mediums.
 Each of the interior "pages" are pre-scored and have a small flap along one side. To assemble these pages, fold along the crease line and then use a bone folder across the fold for a crisp edge. Add a line of adhesive (double-sided tape or quick dry glue along the edge of the flap that folds in, and secure. All of the pages are assembled in this manner, allowing for them to be used as "sleeves" to tuck tags or papers inside. This will make it super easy if you want to include any brads or fasteners that may need to go through the page, later on.
 I often tend to have elements on my pages that overhang the edges, with this in mind, I decide that it would be fun to stagger the lengths of my interior pages. Once I have secured all of my pages, I determine the differing lengths for staggering. I cut down each page as necessary. Knowing that I want a halloween theme for my tag book, I pull out all of my halloween papers to find the perfect pieces.
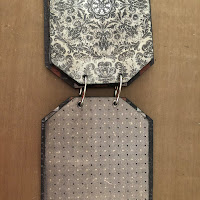
 When selecting the papers for each page, it is important that you determine how you will be hinging the book, as well as the direction that you intend for the book to be "read." Since "a creepy collective" is going to be a flip book, I adhere the pages with any patterns/graphic with the appropriate orientation. To reinforce the folded edge, I add washi tape to each side, prior to adding any decorative papers. This is not a required step; however, if you intend to create a more interactive book, it is always a good idea to reinforce.
Using the staggered pages as guides, I trace the outlines and cut the shapes from my decorative papers. The edges of the page, as well as the decorative paper, are inked, and then using double sided adhesive tape, I attach the papers.


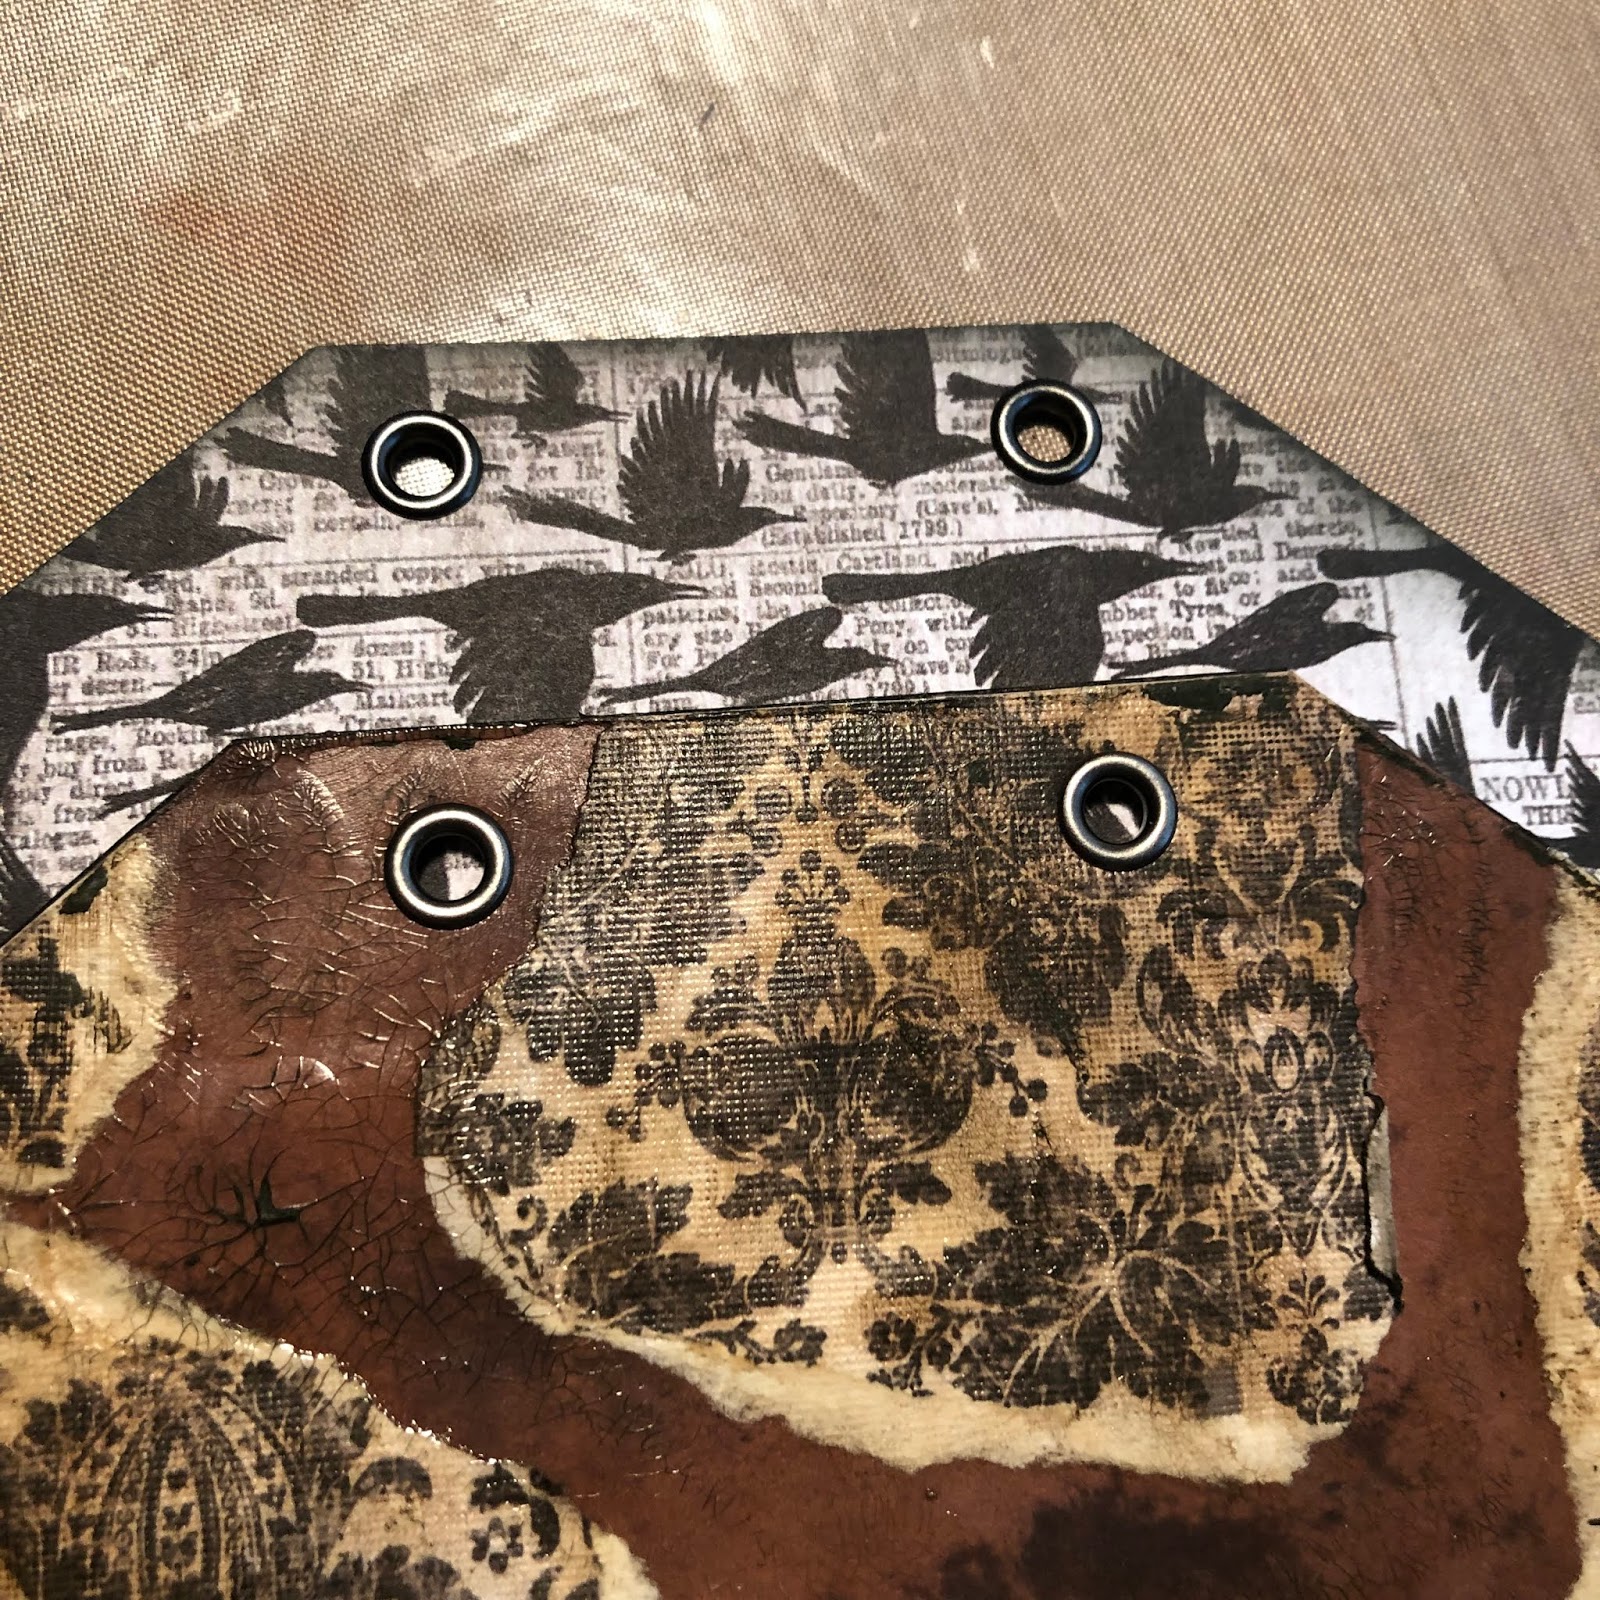
 Now it is time to work on the front and back covers. Since I anticipate this book being handled a lot, I use distress collage medium to adhere the papers to the covers. The collage medium adds a protective coating that will withstand much use. Once the first layer of paper is attached, I add torn pieces of worn wallpaper.
 I hope to achieve the look of a gallery wall in an old haunted mansion. The wall paper peeling and a collection of family portraits hanging. When the collage medium has dried completely, I add crackle finish to random areas, concentrating on the wall area. the resulting crackle is accentuated with a rubbing of walnut stain distress crayon.


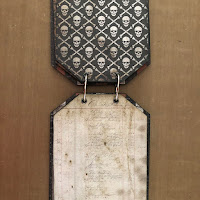
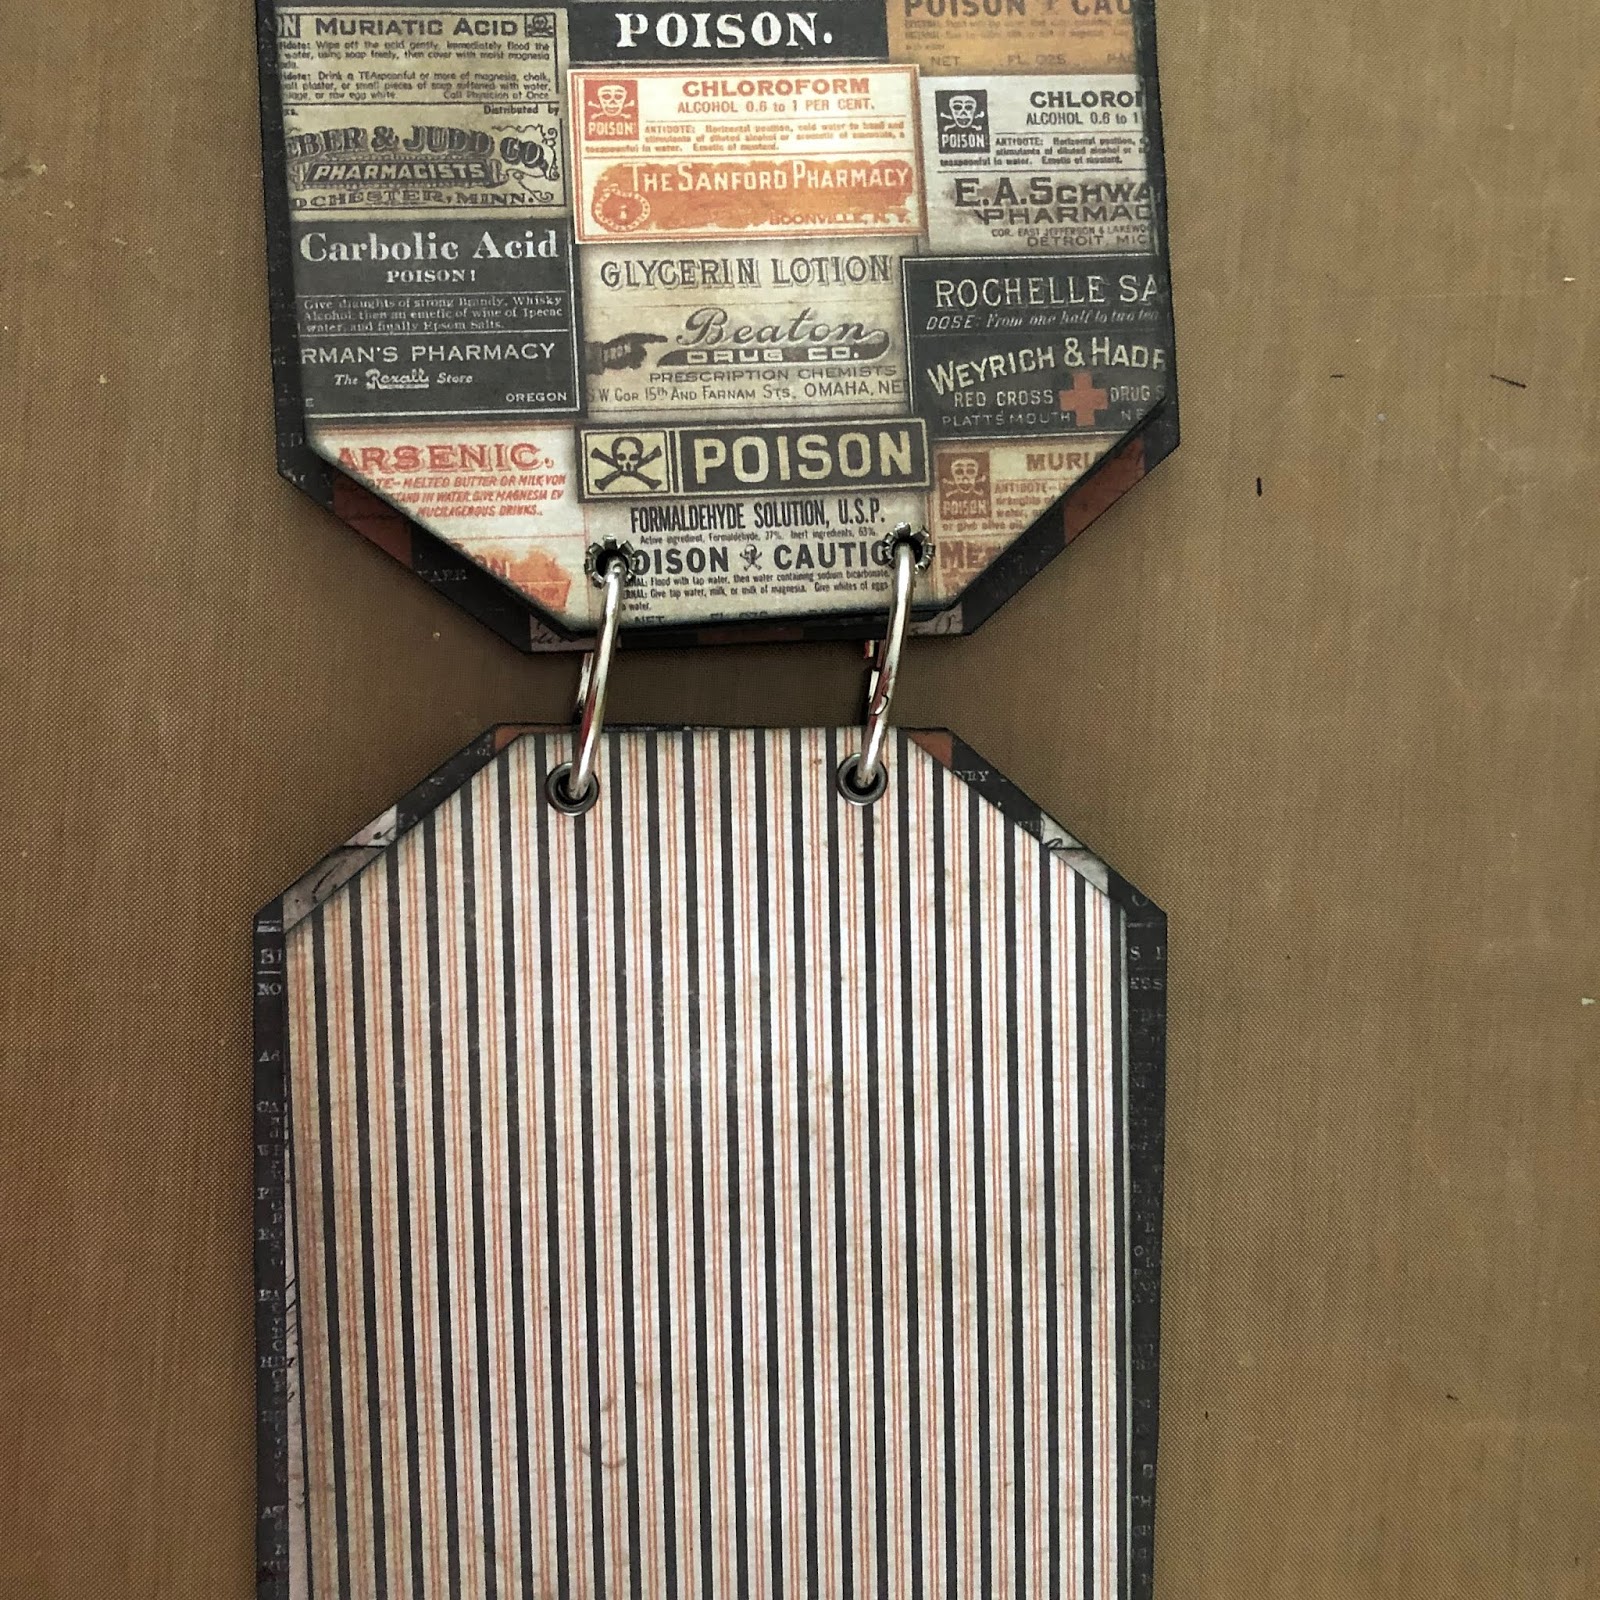
Once all of the pages have been covered and the front and back cover finishes are dry, I determine the best location for my binding holes.The first step is to determine the onset of the interior pages, be sure that wherever you decide to place your binding will incorporate the pages. I decide to use 3/16" eyelets to accommodate the binding rings. The holes are set an appropriate distance in to allow for a border around the eyelet. Using a crop-a-dial I punch my holes and set the eyelets. The next page is aligned, and the hole locations are marked then punched and eyelets set.
 This ensures that all of the holes will be lined up and the pages will be easily flipped.
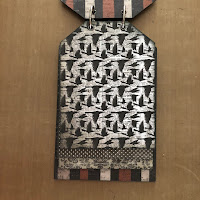
 Spooktacular alphabet die cut letters spelling "a creepy collective" give title to my tag book. Framed found relatives, some wearing die cut masks or a Gypsy Soul Laser Cut little crown, hung on the decaying "wall" complete the front cover.
 The rear cover is finished in a similar way to the front; lacking the relatives, this cover is stamped and die cut letters read "and then there were none." A rodent from the Gypsy Soul Laser Cuts creepy critters set is inked, covered with collage medium, and attached to the bottom corner, trying to take a peek inside. I have hand drawn some cracks in the exposed plaster to add to the decayed wall appearance.
I hope you are inspired to create your own tag book.
I can envision this book being made in many different themes, for any holiday or special occasion.
I look forward to sharing the completed interior pages in my next blog post.
I have really enjoyed working on this project
and appreciate you taking the time to stop by the blog.
~Ann
supplies:
Distress Archival Ink: black soot
Distress Collage Medium: matte, vintage
Distress Crayon: black soot, ground expresso
Distress Marker: carved pumpkin
Distress Oxide Ink:black soot
Gypsy Soul Laser Cuts:
tag book (coming soon), creepy critters, little crowns
Tim Holtz Ideaology:
adornments art deco fames, adornments halloween, halloween paper stash, foundry frames, halloween story sticks, hinge clips large, remnant rubs, worn wallpaper
Tim Holtz / Sizzix Alterations:
masquerade, spooktacular alphabet (retired), stitched ovals, stitched rectangles
Tim Holtz / Stampers Anonymous: Mr. Bones


Using the staggered pages as guides, I trace the outlines and cut the shapes from my decorative papers. The edges of the page, as well as the decorative paper, are inked, and then using double sided adhesive tape, I attach the papers.


Once all of the pages have been covered and the front and back cover finishes are dry, I determine the best location for my binding holes.The first step is to determine the onset of the interior pages, be sure that wherever you decide to place your binding will incorporate the pages. I decide to use 3/16" eyelets to accommodate the binding rings. The holes are set an appropriate distance in to allow for a border around the eyelet. Using a crop-a-dial I punch my holes and set the eyelets. The next page is aligned, and the hole locations are marked then punched and eyelets set.


I hope you are inspired to create your own tag book.
I can envision this book being made in many different themes, for any holiday or special occasion.
I look forward to sharing the completed interior pages in my next blog post.
I have really enjoyed working on this project
and appreciate you taking the time to stop by the blog.
~Ann
supplies:
Distress Archival Ink: black soot
Distress Collage Medium: matte, vintage
Distress Crayon: black soot, ground expresso
Distress Marker: carved pumpkin
Distress Oxide Ink:black soot
Gypsy Soul Laser Cuts:
tag book (coming soon), creepy critters, little crowns
Tim Holtz Ideaology:
adornments art deco fames, adornments halloween, halloween paper stash, foundry frames, halloween story sticks, hinge clips large, remnant rubs, worn wallpaper
Tim Holtz / Sizzix Alterations:
masquerade, spooktacular alphabet (retired), stitched ovals, stitched rectangles
Tim Holtz / Stampers Anonymous: Mr. Bones


4 comments:
Ann, that is such a great kit, with so many possibilities. I love the idea of the Halloween theme, each of the tag pages look beautiful already and the cover - wow! Your gallery wall looks amazing and the family look like they are dressed for a masked ball - such fun! I look forward to seeing the pages now. Hugs, Anne xx
This is awesome I LOVE IT. You are so creative and I just love the entire theme of this tag book. I love Halloween and plan to get my Halloween on big time this year. Thanks for always inspiring pieces my friend.
x0x0x
Monica
This is awesome Ann I LOVE IT. You are so creative and I just love the entire theme of this tag book. The papers are drool worthy and I LOVE the cover. I love Halloween and plan to get my Halloween on big time this year. Thanks for always awesomely inspiring pieces my friend.
x0x0x
Monica
whoah this blog is magnificent i love reading your posts. Stay up the good work!
You understand, many individuals are looking around for this info, you could help them greatly.
Post a Comment